What seemed like a small water damage issue on the first floor of a single-family home in Media, PA turned out to be a multi-floor problem that had been quietly causing damage for some time. This project revealed the hidden extent of water damage — and how having an experienced restoration company can make all the difference when dealing with insurance claims.
The First Call
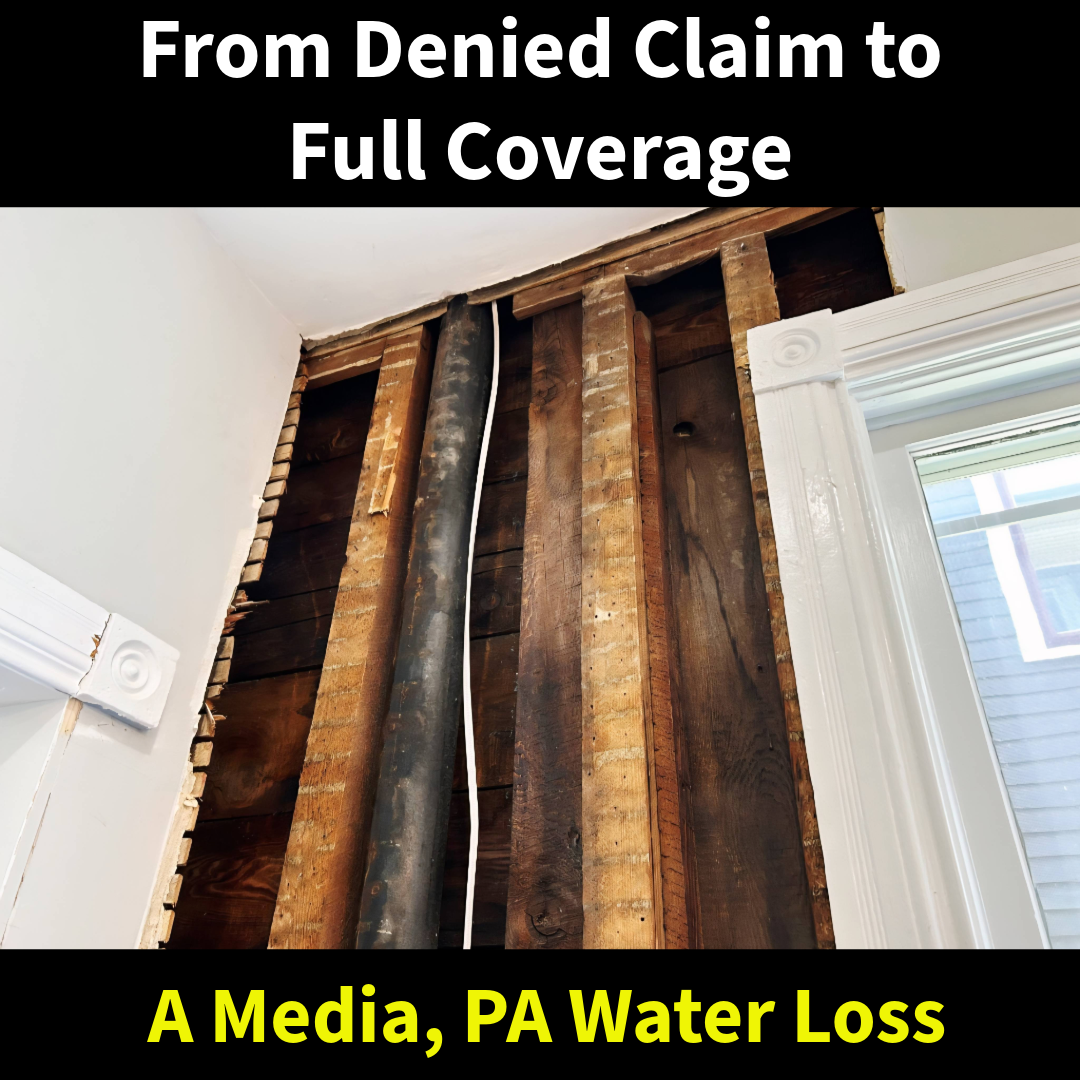
When the homeowner first contacted us, they believed the water damage was limited to their first floor. Upon inspection, our team found additional damage extending upward to the second floor and downward into the finished basement. With no visible source in sight, we began carefully opening walls to trace the water’s path.
Finding the Culprit
The break was eventually traced to a cracked stack pipe in the second-floor wall. The homeowner had already filed an insurance claim, but it had been denied because the insurer labeled it a “long-term leak” — a common reason for claim rejections, especially when mold is involved.
However, our inspection told a different story.
Proving the Case
We documented how the crack in the pipe was small enough to release only minimal amounts of water at a time. The insulation and double-layered drywall/plaster acted like a sponge, absorbing the water before any signs appeared on the surface. By the time damage became visible, the underlying problem had been active for some time — but not because it was ignored.
Once the wall was opened, a plumber could repair the pipe, and with our findings, the insurance company reversed its decision and covered the claim.
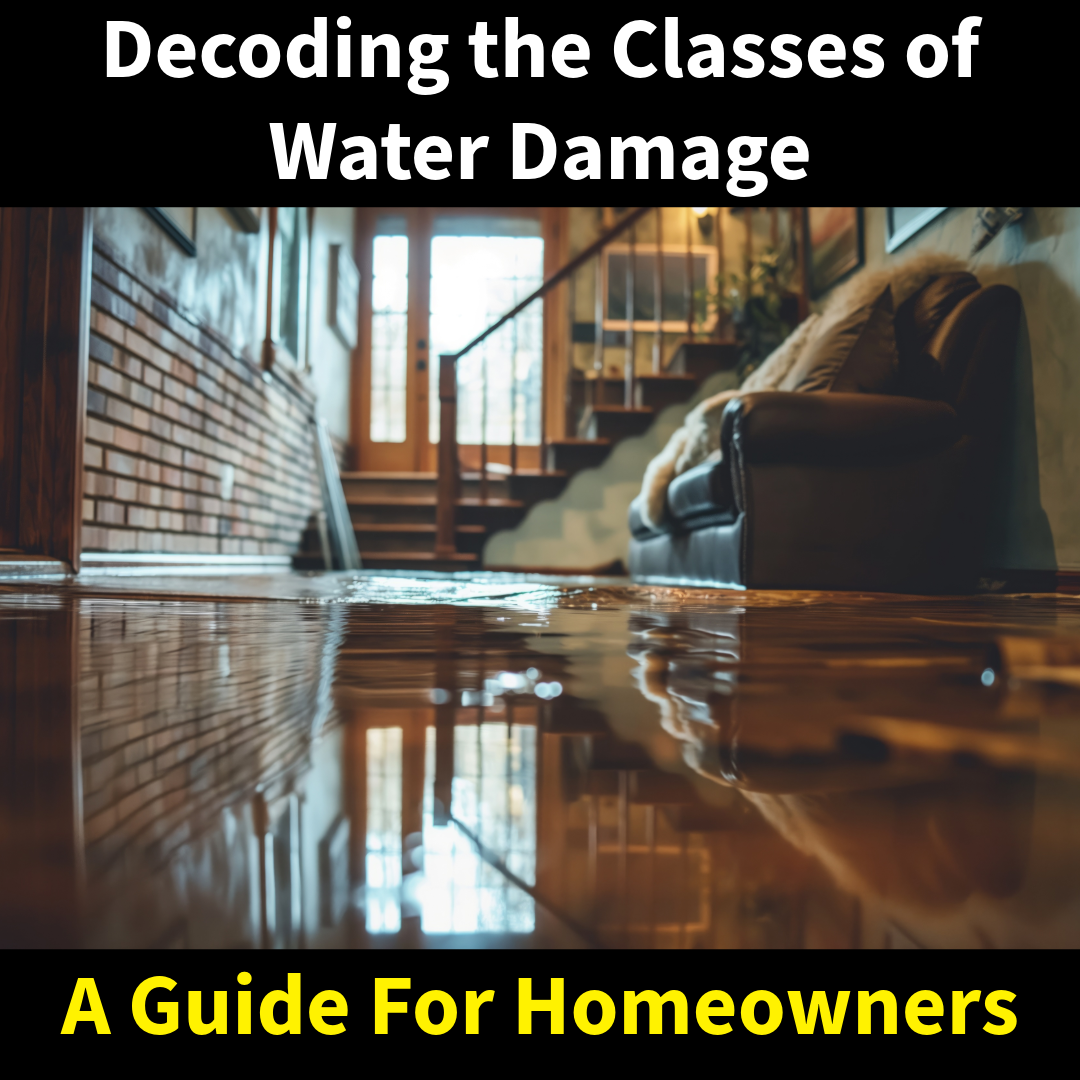
Understanding Category 3 Water
This was a Category 3 water loss — the most hazardous classification:
- Category 1: Clean water from a sanitary source.
- Category 2: “Gray” water with some contamination.
- Category 3: “Black” water containing sewage, bacteria, and dangerous pathogens.
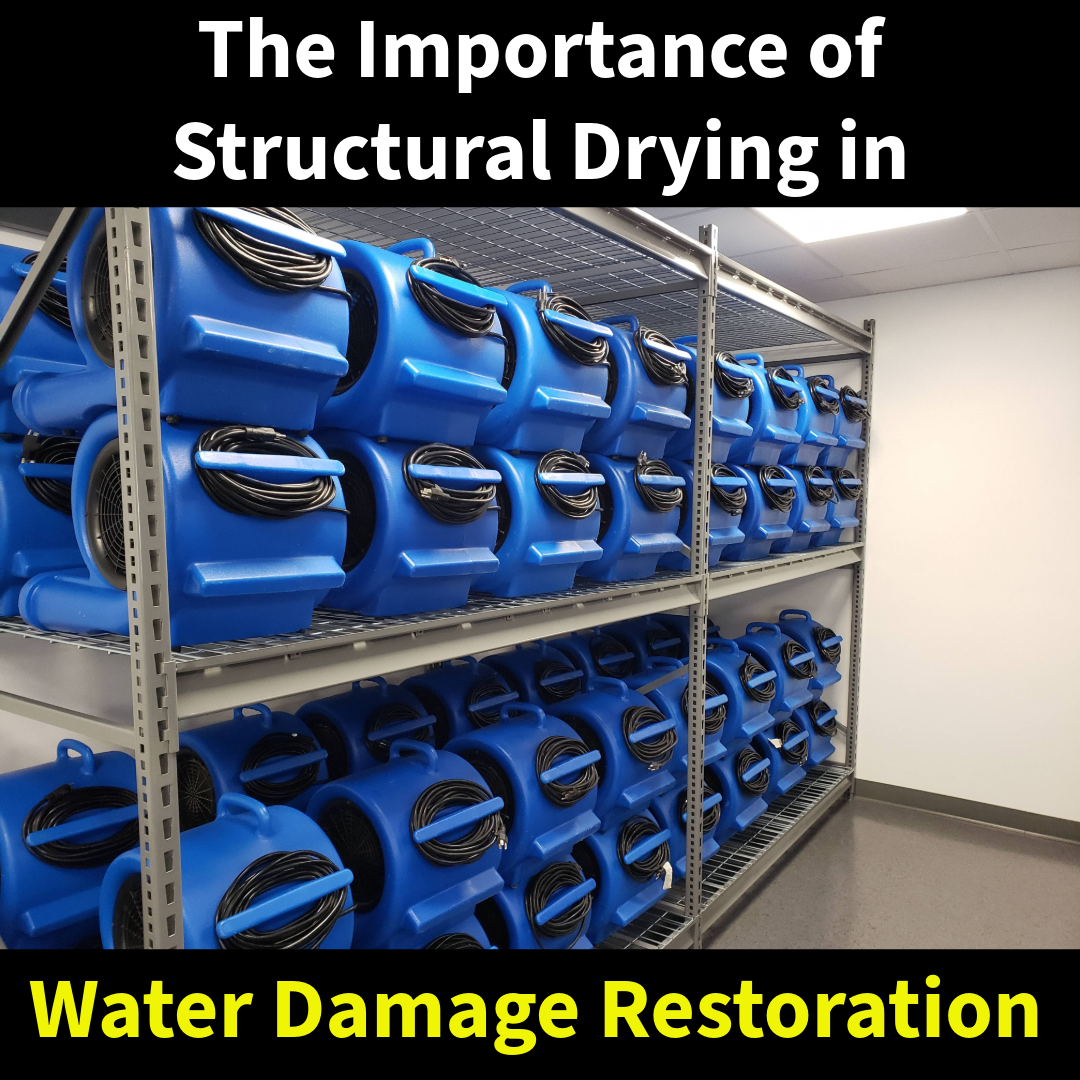
Because the cracked stack pipe was part of the home’s waste system, any escaping water posed serious health risks. Immediate, professional remediation was essential to remove contaminated materials, sanitize the area, and prevent mold growth.
Why Stack Pipes Crack
Stack pipes — the vertical plumbing pipes that carry waste and water from upper floors — can crack for several reasons:
- Material fatigue in older cast iron or PVC systems.
- Shifting or settling of the building.
- Temperature fluctuations causing expansion and contraction.
- Corrosion or rust over time.
Even a small crack can cause major hidden damage, as this case clearly showed.
The MSI Difference
Our role went far beyond cleanup. We:
- Discovered the hidden extent of the damage.
- Removed contaminated materials from all affected floors.
- Performed mold remediation to IICRC standards.
- Coordinated with the plumber for quick repairs.
- Provided the documentation needed to reverse a denied insurance claim.
When you’re facing water damage — especially from a hidden source — you need a restoration company that knows how to uncover the problem, clean it up properly, and help you get it covered.
Have water or mold damage you can’t figure out? Call MSI at 877-712-1600. We’ll find the source, stop the damage, and help restore your home safely.