Buying or selling a home is already a stressful process. When mold is discovered during a home inspection, that stress can quickly turn into uncertainty, delays, or even a deal falling apart entirely.
Mold is not just a visual issue. In real estate transactions, it raises immediate concerns about the condition of the home, potential health risks, and the cost of proper remediation.
Why Mold Raises Red Flags for Buyers
When mold shows up in an inspection report, buyers tend to pause. Even small amounts of visible mold can lead to bigger questions:
- Is there more mold behind the walls
- How long has it been there
- What caused it
- Has it been properly addressed
Mold suggests a moisture problem, and moisture problems often point to something deeper within the home. That uncertainty alone is enough to make buyers reconsider or proceed more cautiously.
How Mold Delays Real Estate Transactions
Once mold is identified, the process rarely moves forward quickly. Buyers often request further evaluation, which may include mold testing, additional inspections, or opening up affected areas to determine the extent of the issue.
This leads to back and forth between all parties:
- Buyers want answers and reassurance
- Sellers want to protect the deal
- Agents are trying to keep everything on track
These added steps can delay closing timelines and complicate negotiations.
When Mold Causes Deals to Fall Apart
In some situations, the deal does not recover. If mold appears widespread, poorly addressed, or still active, buyers may walk away. This is especially true when:
- The source of the mold has not been identified
- There is concern about hidden growth
- The scope of remediation is unclear
- Trust in the condition of the home is lost
Even when sellers offer to fix the issue, buyers may no longer feel comfortable moving forward.
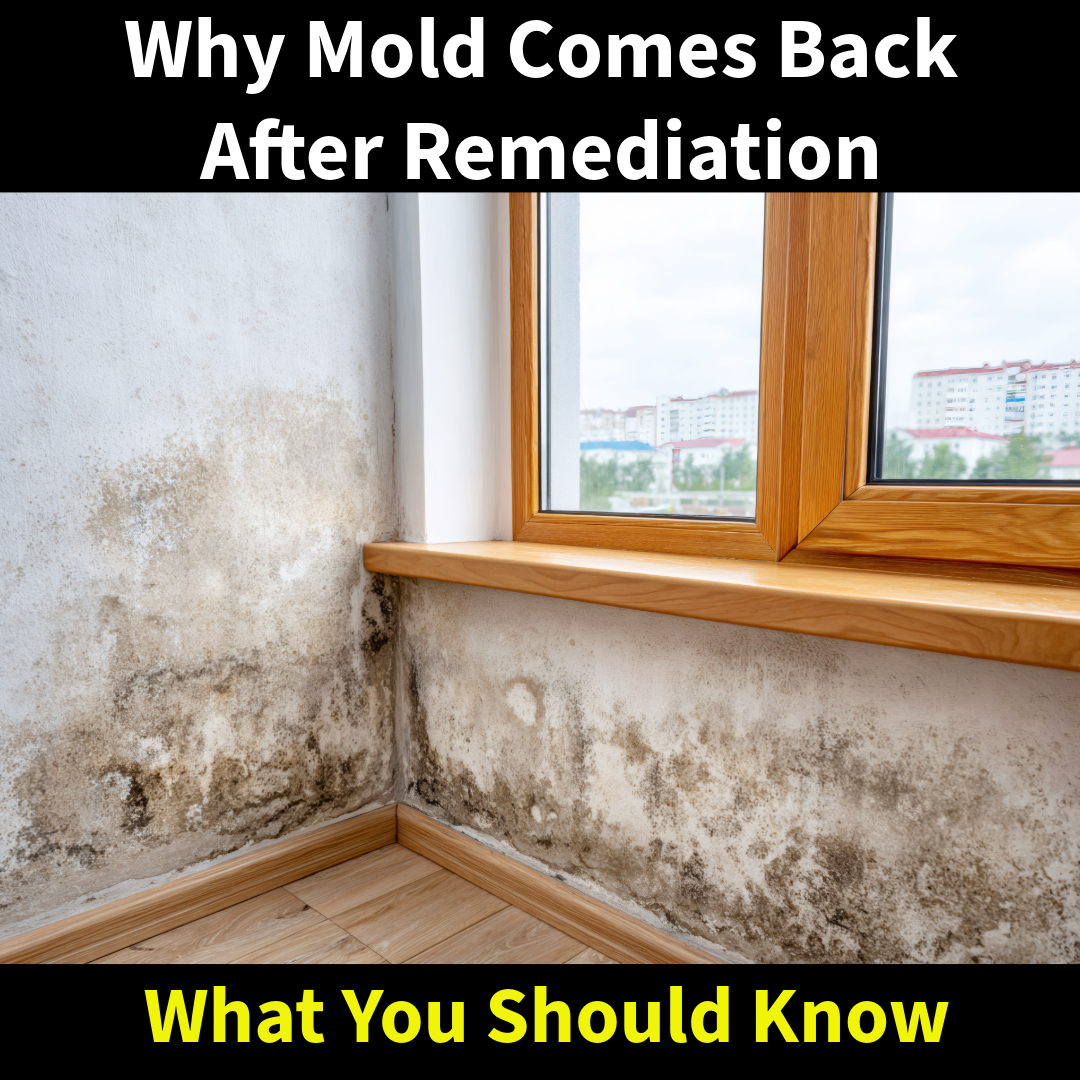
The Problem With Quick Fixes
One of the biggest mistakes sellers make is trying to address mold with a quick or cosmetic fix before listing the home. Cleaning visible mold or painting over affected areas does not resolve the underlying issue. In many cases, it makes buyers more cautious once it is discovered.
Mold that is not properly remediated often returns, and that risk becomes a major concern during a transaction.
Why Proper Diagnosis Matters
Mold is a result of a moisture issue. Without identifying and correcting the source, the problem is not truly resolved. What is visible during an inspection may only be a small portion of the overall issue. Mold can exist behind walls, under flooring, or within ceilings.
A proper evaluation ensures that:
- The source is identified
- The extent is understood
- The remediation is done correctly
This is critical for both buyers and sellers.
What Sellers Should Know
If you are planning to sell a home and suspect mold may be present, addressing it before listing can prevent major issues later.
Taking the time to properly remediate mold and correct the underlying cause can:
- Reduce delays during inspection
- Build confidence with buyers
- Help keep the transaction moving forward
What Buyers Should Know
If mold is found during a home inspection, it is important to understand the situation fully before making a decision. Not all mold issues are the same. Some are limited and can be resolved, while others may indicate a larger problem.
The key is making sure the issue is properly evaluated and addressed, not ignored or covered up.
Why Mold Matters in Real Estate
Mold impacts more than just appearance. It affects a home’s condition, air quality, and perceived value. In real estate, confidence is everything. When mold is introduced into the equation, that confidence can quickly disappear.
The Takeaway
Mold found during a home inspection is more than just a checklist item. It is a signal that something within the home needs to be properly addressed. Handled correctly, it can be resolved and the deal can move forward. Ignored or handled poorly, it can delay or completely derail a sale.
If you are buying or selling a home and mold becomes part of the conversation, getting the right information early can make all the difference.