Water Damage Restoration Timelines: What Homeowners Should Expect

When water damage strikes, one of the first things homeowners want to know is: “How long will this take to fix?” The answer depends on a variety of factors, including the type of water involved, the extent of the damage, and the materials affected.

At MSI, we’ve restored thousands of homes and businesses across Pennsylvania, New Jersey, and Delaware. Here’s a general timeline of what you can expect during a typical water damage restoration project. But remember, each situation varies considerably depending on the scope, size of the loss and affected building materials.


Emergency Response (Same Day)

Timeframe: Within hours
A professional restoration team should respond quickly—ideally within hours of the initial call. The emergency response includes:

  • Documenting the damage especially when insurance claims are filed.
  • Extracting standing water
  • Assessing moisture levels with meters and thermal cameras
  • Setting up industrial drying equipment

A fast response limits the spread of damage and helps prevent mold growth or structural issues.


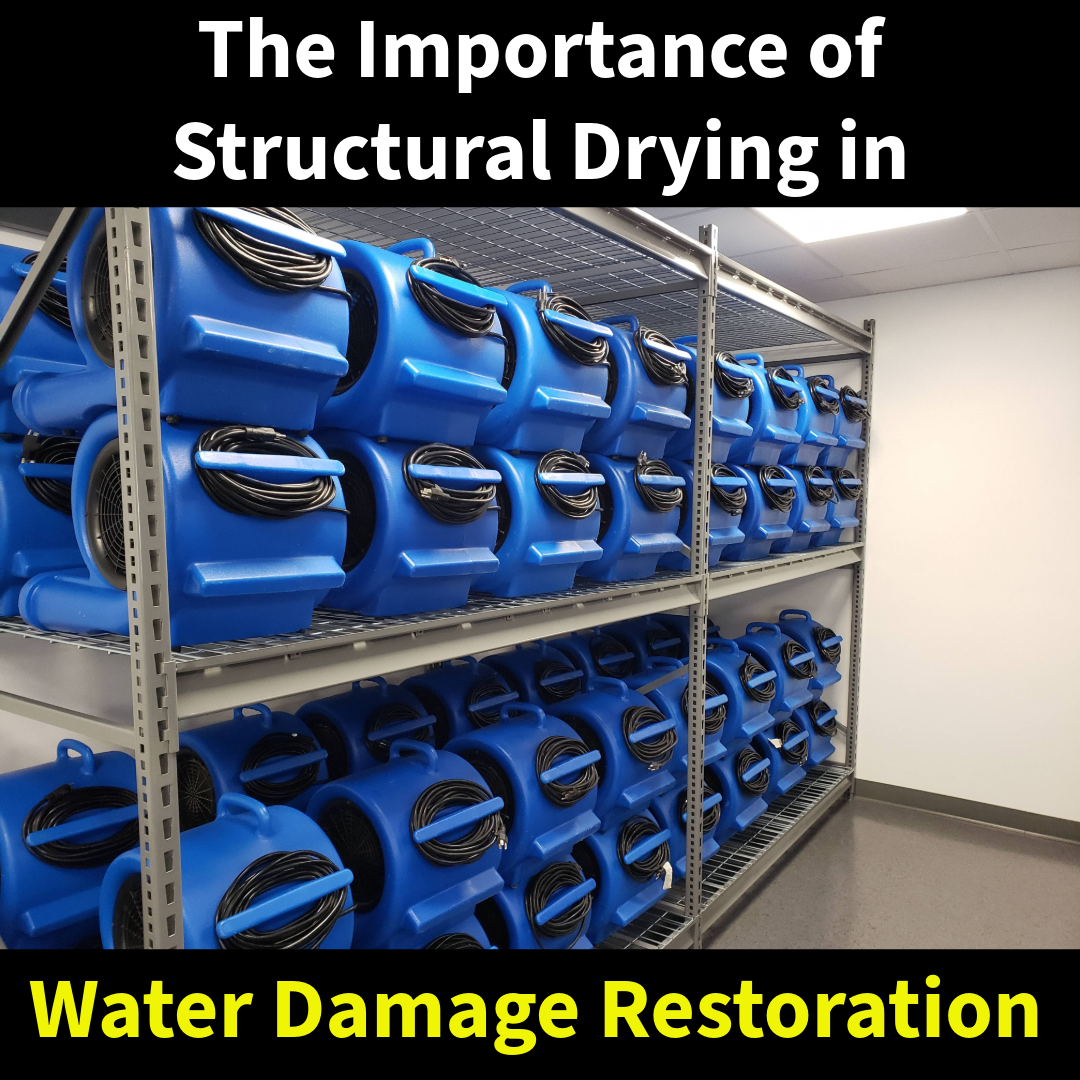
Drying and Dehumidification (3 to 5 Days)

Timeframe: Most jobs are dry in about 3 days
Once the water is extracted, the structure needs to be thoroughly dried using commercial-grade air movers and dehumidifiers. While conditions vary, the majority of jobs are dry within 3 days, though larger or more complex losses may require up to 5 days. Drying time depends on:

  • Amount of water and extent of saturation
  • Types of materials affected (carpet, wood, drywall, insulation)
  • Temperature, humidity, and airflow conditions on-site

Daily monitoring ensures that drying is progressing properly and that equipment is adjusted as needed.


Demolition and Removal (Same Day to 2 Days)

Timeframe: Varies by materials and contamination level
If certain materials are unsalvageable, especially in Category 2 or 3 water losses, they must be removed. This may include:

  • Cutting out wet drywall and insulation
  • Pulling up carpet and padding
  • Removing damaged baseboards, flooring, or cabinetry

Clean water losses may require little to no demolition. In sewage or contaminated water situations, more extensive removal is necessary for safety and code compliance.


Cleaning and Sanitizing (1 to 2 Days)

Timeframe: Often overlaps with demolition
After demo, all remaining surfaces must be cleaned and sanitized to prevent microbial growth. This includes:

  • Antimicrobial treatments on framing and concrete
  • HEPA vacuuming and surface wiping
  • Odor control (fogging, ozone, or hydroxyl treatments if needed)

This step is critical to ensure the space is safe for reconstruction and eventual occupancy.


Reconstruction (1 to 4 Weeks or More)

Timeframe: Depends on scope and scheduling
Reconstruction involves restoring the property to its pre-loss condition and can include:

  • Drywall installation and painting
  • Flooring and baseboard replacement
  • Cabinetry and trim carpentry
  • Electrical and plumbing fixture replacement

Reconstruction timelines can vary based on material availability, insurance approvals, and whether the home remains occupied during repairs.


Factors That Can Extend the Timeline

Several factors can stretch the restoration process beyond the norm:

  • Delayed response – allowing water to sit worsens damage
  • Sewage or Category 3 water – requires hazardous material protocols
  • Mold discovered during demolition – adds remediation steps
  • Insurance approval delays – slows demo and rebuild authorization
  • Scope changes – repairs reveal hidden damage

Typical Water Damage Restoration Timeline

  • Day 1: Emergency response and water extraction
  • Days 2–5: Drying, monitoring, and possible demolition
  • Days 5–7: Cleaning, sanitizing, and post-dry inspections
  • Week 2–4+: Reconstruction and final walkthrough

Trust the Experts at MSI

At MSI, we take pride in the relationships we build with our customers. Since 1998, we’ve completed thousands of water damage restoration projects throughout Philadelphia, Delaware County, Bucks County, Montgomery County, and the surrounding areas—including New Jersey and Delaware. Our certified technicians are prompt, courteous, and detail-oriented at every step of the process. We work quickly and thoroughly to return your home to its pre-loss condition—often in just a matter of days.

When disaster strikes, time is everything. Call MSI to take control of the damage—fast.

The Importance of Structural Drying in Water Damage Restoration

When water invades your home or business—whether from a burst pipe, storm flooding, or an appliance leak—the first instinct is often to mop it up and run a few fans. But visible water is only part of the problem. The real damage happens behind walls, under floors, and inside materials that can retain moisture long after the surface appears dry. That’s where structural drying becomes essential.

At MSI, we specialize in professional water damage restoration throughout Pennsylvania, New Jersey, and Delaware, and we know that skipping or rushing the drying process can lead to serious long-term damage, including mold growth, wood rot, and compromised structural integrity.


What Is Structural Drying?

Structural drying refers to the controlled process of removing moisture from a building’s structural components—such as framing, subfloors, drywall, insulation, and concrete—after a water intrusion. It’s a crucial phase that goes far beyond surface-level cleanup.

Key components of structural drying include:

  • Water extraction using powerful equipment to remove standing water
  • Moisture mapping with thermal cameras and moisture meters to detect hidden wet areas
  • Dehumidification to reduce air humidity and prevent secondary damage
  • Air movement using high-velocity air movers to accelerate drying of surfaces
  • Temperature control to optimize the drying environment

Why Structural Drying Matters

Here’s why structural drying is not optional when it comes to proper water damage restoration:

1. Prevents Mold Growth

Mold can start growing in as little as 24–48 hours in damp conditions. Structural drying removes the moisture mold needs to survive, making it a key part of mold prevention after water damage.

2. Protects Building Materials

Drywall, wood framing, subfloors, and insulation all absorb moisture. If not dried properly, they weaken over time—leading to sagging, splitting, and even structural failure.

3. Saves Time and Money

Proper drying prevents the need for future repairs due to warping, mold remediation, or reconstruction. While it may seem like an added step, it often reduces long-term restoration costs.

4. Supports Insurance Claims

Insurance companies often require documented proof of drying, including moisture readings. At MSI, we provide full documentation to support your water damage insurance claim.


The Risks of Skipping Proper Drying

Too often, property owners (and even some contractors) attempt to cut corners—drying only what’s visible or using household fans and dehumidifiers that aren’t up to the task. Unfortunately, these shortcuts can lead to:

  • Hidden mold outbreaks
  • Lingering odors
  • Health issues from poor indoor air quality
  • Failed building inspections or renovations

By contrast, certified structural drying ensures your property is truly safe, clean, and ready for repairs.


Structural Drying Requires Expertise

At MSI, our technicians are IICRC-certified and trained in the latest structural drying techniques. We use commercial-grade dehumidifiers, air movers, and infrared moisture detection equipment to ensure that every affected area is addressed—even the ones you can’t see.

We don’t rely on guesswork or shortcuts. We provide honest, science-based water damage restoration services, backed by nearly 30 years of experience and thousands of successful projects across Pennsylvania, New Jersey, and Delaware.


Final Thoughts: Drying Is Not Optional—It’s Foundational

If your property has experienced water damage, don’t assume that just because the surface looks dry, the problem is solved. Structural drying is an essential step in the restoration process—one that protects your property, your health, and your finances.

For a thorough, professional response to water damage emergencies, our team at Mold Solutions & Inspections are here to help. Our IICRC certified team of water damage restoration experts can have your property back to pre-loss conditions in a quick, safe and cost efficient manner, while never compromising proper procedures or overcharging for services never performed. We’re here to help you recover fully and safely—no shortcuts, no surprises.

Winter Roof Leaks – How to Spot and Stop Water Damage

Winter weather can be tough on homes, especially when it comes to your roof. Snow, ice, and fluctuating temperatures create the perfect conditions for leaks to develop. Left undetected, these leaks can lead to significant water damage, mold growth, and costly repairs. Here’s what homeowners need to know about spotting and stopping winter roof leaks before they become a major problem.

Common Causes of Winter Roof Leaks

  1. Ice Dams – When snow melts on a warm roof and refreezes at the eaves, it creates a dam that traps water behind it. This water can back up under shingles and seep into the home.
  2. Heavy Snow Accumulation – Excessive snow adds weight to the roof and can cause stress on weak spots, leading to leaks.
  3. Condensation in the Attic – Poor insulation and ventilation can cause warm air from your home to rise and condense in the attic, leading to moisture buildup and eventual leaks.
  4. Cracked or Missing Shingles – Winter storms and high winds can damage shingles, creating openings for water to penetrate.
  5. Flashing Damage – The metal flashing around chimneys, vents, and skylights can deteriorate or become loose, allowing water to seep in.

Signs of a Winter Roof Leak

  • Water stains on ceilings or walls
  • Peeling paint or bubbling drywall
  • Damp or musty smells in the attic or upper floors
  • Visible ice dams forming along the roof’s edge
  • Icicles hanging from the gutters (a sign of poor drainage)
  • Soft or sagging spots on the roof

How to Prevent Winter Roof Leaks

  • Keep Gutters Clean – Remove leaves and debris to allow melting snow and rainwater to drain properly.
  • Improve Attic Insulation and Ventilation – Proper insulation helps maintain consistent roof temperatures, preventing ice dams and condensation issues.
  • Remove Snow Safely – Use a roof rake to clear snow buildup and reduce stress on the roof.
  • Seal Roof Penetrations – Check around chimneys, vents, and skylights for any gaps or cracks and apply proper sealing materials.
  • Schedule a Professional Roof Inspection – A roofing professional can identify weak spots and recommend repairs before they turn into costly leaks.

What to Do If You Discover a Leak

If you suspect a roof leak, act quickly to minimize damage:

  • Place a bucket or container under drips to catch water.
  • Dry out affected areas to prevent mold growth.
  • If safe, remove excess snow from the roof to reduce water accumulation.
  • Contact a professional for immediate repairs and water damage restoration.

Final Thoughts

Winter roof leaks can be a homeowner’s worst nightmare, but with the right preventative measures and quick action, you can minimize damage and costly repairs. If you suspect a leak, don’t wait—address it immediately to protect your home from further harm. Our water damage restoration team at MSI in on call no matter the time or date, and we’ve helped thousands of home and business owners alike get back to the norm they know in a quick, safe and cost effective manner.