A Flooded Basement in Doylestown, PA: A Real Emergency Response

Homeowners are often told that help is only a phone call away when water damage strikes. Unfortunately, that isn’t always the case.

Recently, a homeowner in Doylestown, PA experienced a flooded basement after a supply line burst. What followed is a situation we see far too often — multiple companies advertising “emergency water damage restoration,” but no one actually provides the service they claim.


As water continued to spread through the basement, the homeowner began calling local companies that claimed to offer emergency water damage services. Three different companies told her they could not come out that day, or that it would be many hours before anyone could respond.

By that point, frustration had set in. Water damage is stressful enough on its own, and being told repeatedly that help isn’t available only makes the situation worse. When she finally contacted our team, we responded immediately. Despite a 45-minute drive, we arrived within an hour and a half and began addressing the situation right away.


Upon arrival, our priority was to stabilize the loss. We extracted the standing water, removed damaged materials, and began proper structural drying of the basement. Quick response matters in water damage situations. The longer moisture remains in building materials, the greater the risk of secondary damage, including mold growth and structural deterioration.


As drying progressed, we discovered hidden mold growth that had not been disclosed during the home’s sale. The homeowner had mentioned that she often felt unwell when spending time in the basement, and the presence of mold helped explain those symptoms.

This is not uncommon in basements that have experienced past moisture issues that were never properly addressed. Mold is frequently hidden behind finished walls, flooring, or insulation and may not be visible or noticeable without a thorough evaluation.


In addition to the mold, we identified poor electrical lines and unsafe connections in the basement. These conditions posed a potential fire hazard, especially in an area that had just been exposed to water. Water damage often reveals problems unrelated to the original loss. Addressing these issues early can prevent much more serious problems down the road.


Another major source of stress for the homeowner was insurance. She had no idea that the damage from the burst supply line could be covered under her policy. We explained the process, helped her document the loss properly, and assisted her in filing the claim. The claim was approved, and she was ultimately paid for both the remediation work and the reconstruction. Understanding what is and isn’t covered can make a significant difference in how a homeowner experiences a loss.


What began as an extremely frustrating situation — with no companies able to respond — turned into a manageable experience once the right team became involved. Water damage is always stressful, but having someone take responsibility for the process, explain each step, and help carry the loss through to a paid-out claim can make a major difference for homeowners.

This Doylestown case is a good reminder that not all “emergency services” are actually available when emergencies happen, and that fast response, thorough evaluation, and proper documentation matter just as much as the cleanup itself.

How to File an Insurance Claim After Property Damage — & What to Expect

Filing an insurance claim after property damage can feel overwhelming, especially when it’s your first time dealing with a loss. Most homeowners expect the process to be straightforward: report the damage, meet the adjuster, and move forward with repairs. In reality, insurance claims are often more nuanced, and understanding what typically happens can help reduce stress and prevent surprises.

This guide is designed to explain how the claims process usually works, what information insurance companies generally need, and what homeowners should realistically expect after a claim is filed.


After property damage occurs, many homeowners feel pressure to act quickly. While emergency mitigation is often necessary, it’s important to slow down enough to document the situation accurately. Insurance companies rely heavily on the information provided at the start of a claim, and early details often shape how the claim is handled later.

Most claims begin with reporting the date of loss, the cause of damage, and a general description of what was affected. Photos and videos taken before cleanup or repairs can be extremely helpful. Accuracy matters more than urgency at this stage, as inconsistencies can lead to delays or questions later in the process.


Once a claim is filed, the insurance company usually assigns an adjuster to the loss. The adjuster’s role is to evaluate the damage, review policy coverage, and determine how the claim will be handled. This often includes a site visit, though not all claims are handled the same way.

After the initial inspection, there is usually a review period where documentation is evaluated and coverage decisions are made. This stage can take time, and periods of silence are common. A lack of immediate updates does not necessarily mean a claim has been denied—it often means the claim is still being reviewed.


Insurance claims are driven by documentation. Adjusters typically look for clear evidence of what happened, what materials were affected, and how the damage occurred. Distinguishing between the cause of loss and the resulting damage is an important part of this evaluation.

This is where many homeowners get caught off guard. Damage that looks obvious may still require explanation, especially if moisture, smoke, or mold is involved. Claims are rarely decided based on appearance alone; they hinge on whether the loss fits within the policy’s coverage terms.


One of the most common frustrations in the claims process is discovering that coverage is more limited than expected. Policy exclusions, coverage caps, and cause-of-loss language can all affect how a claim is handled. Disagreements may arise over what is considered related damage versus a separate issue.

Another surprise for many homeowners is timing. Claims often move slower than expected, particularly when additional documentation is requested or when multiple parties are involved. Understanding that this is a process—not a single event—helps set more realistic expectations.


Many homeowners assume that once the adjuster completes their visit, the claim is essentially finished. In reality, this is often just the midpoint. Follow-up requests, revised scopes, or additional documentation are common, especially if new information comes to light during cleanup or repairs.

This phase is where clear records and proper sequencing matter most. Work performed before damage is documented can complicate claims, and missing information can lead to delays or disputes later.


Filing an insurance claim isn’t about finding loopholes or shortcuts—it’s about understanding how the system works so informed decisions can be made along the way. Homeowners who know what to expect are better prepared to respond to questions, provide documentation, and avoid common pitfalls that slow claims down.

Property damage is stressful enough on its own. Knowing how the insurance process typically unfolds helps remove uncertainty and gives homeowners a clearer path forward, regardless of the type of damage involved.


Insurance claims for property damage vary widely depending on the cause of loss, policy details, and circumstances of the damage. While the process can feel confusing, having a basic understanding of what insurers look for and how claims progress can make a meaningful difference.

In future posts, we’ll take a closer look at how this process differs for specific types of losses, including water damage, fire and smoke damage, and mold-related claims.

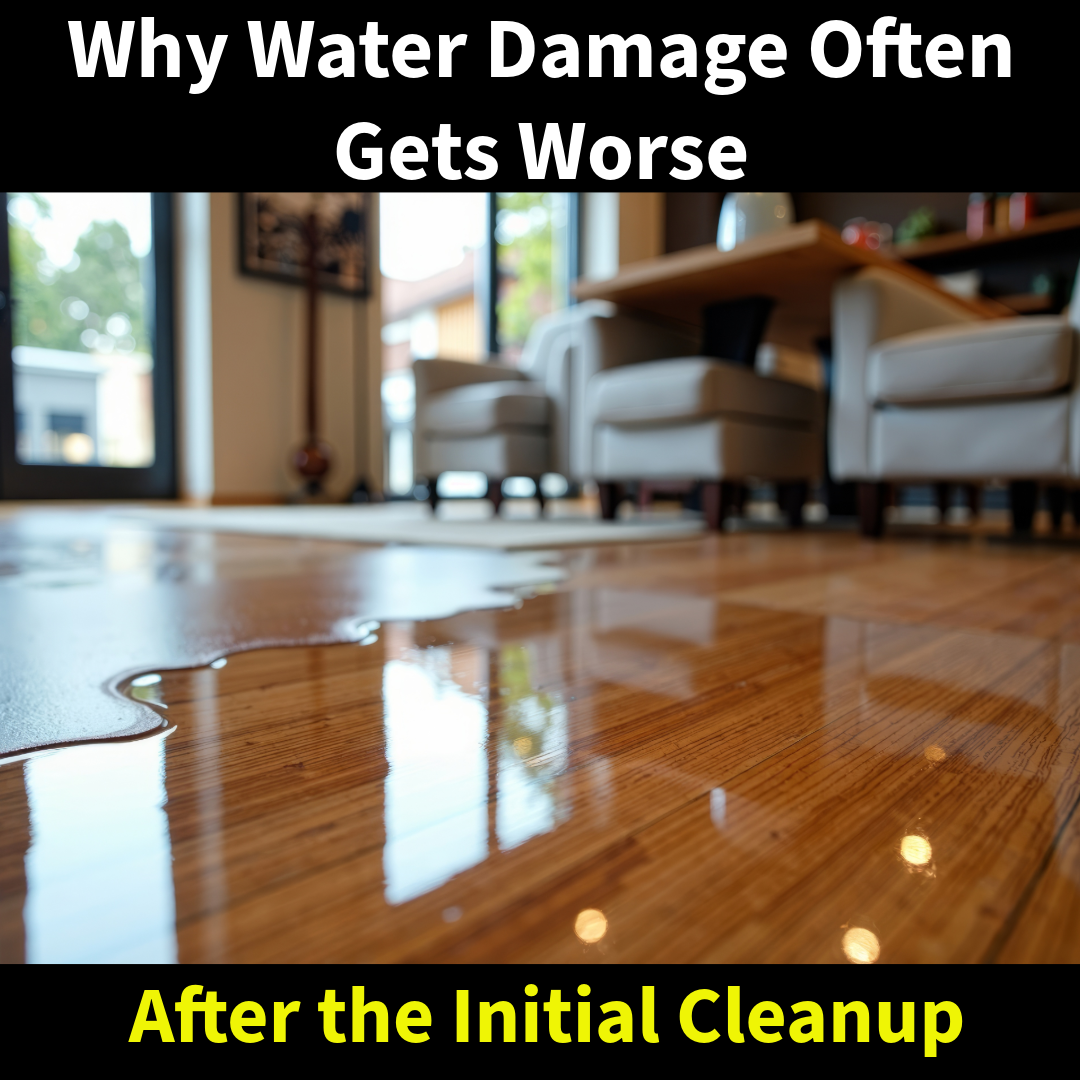
Why Water Damage Often Gets Worse After the Initial Cleanup

When water damage occurs, most homeowners focus on the immediate problem: visible water, wet floors, or obvious damage. Once the water is extracted and the space looks dry again, it’s easy to assume the issue has been resolved. Unfortunately, this is often when the real problems begin.

We regularly see situations where water damage actually becomes worse after the initial cleanup is finished—not because anything dramatic happens, but because hidden moisture was never fully addressed.


Water moves quickly and quietly through a structure. It travels behind walls, under flooring, into insulation, and along framing long before it ever shows up as a visible problem. By the time water is noticed on the surface, it has often already spread into areas that aren’t immediately accessible.

If cleanup focuses only on what can be seen—without opening up affected areas or checking moisture levels inside building materials—water can remain trapped long after the space looks dry.


One of the most common misconceptions after water damage is assuming materials are dry because they feel dry. Drywall, wood, and insulation can appear normal on the surface while still holding significant moisture internally.

Heating systems, air circulation, and time can dry the exterior of materials while moisture remains locked inside. When that happens, conditions are created for swelling, deterioration, odors, and mold growth to develop later—sometimes weeks after the cleanup appears complete.


When moisture isn’t fully removed, secondary damage becomes a real risk. Materials can begin to break down, adhesives can fail, and finishes can deteriorate. In many cases, homeowners don’t connect these later issues to the original water event because enough time has passed that it feels like a new problem.

This is also when mold growth often appears. Mold doesn’t require flooding or standing water—it only needs sustained moisture and organic material. Even small amounts of trapped moisture can be enough.


Initial cleanups are often done under time pressure, stress, or insurance constraints. The focus is frequently on visible damage and immediate stabilization, not long-term verification that everything has fully dried.

Without proper moisture mapping, material evaluation, and follow-up checks, hidden moisture can easily be missed. Once walls are closed back up or flooring is reinstalled, addressing those issues becomes far more disruptive and costly.


The difference between a successful recovery and ongoing problems often comes down to verification. Knowing where water traveled, what materials were affected, and whether everything is actually dry matters more than how quickly the space looks normal again.

Water damage isn’t truly resolved when the water is gone—it’s resolved when the moisture is gone.


When water damage seems to get worse after cleanup, it’s rarely a mystery. In most cases, it’s the result of moisture that was never fully identified or addressed during the initial response.

Taking the time to properly assess, dry, and document affected areas helps prevent secondary damage, mold growth, and repeat issues that surface long after the original event is forgotten.

A Frozen Pipe & Flooded Basement: A West Chester Water Damage Story

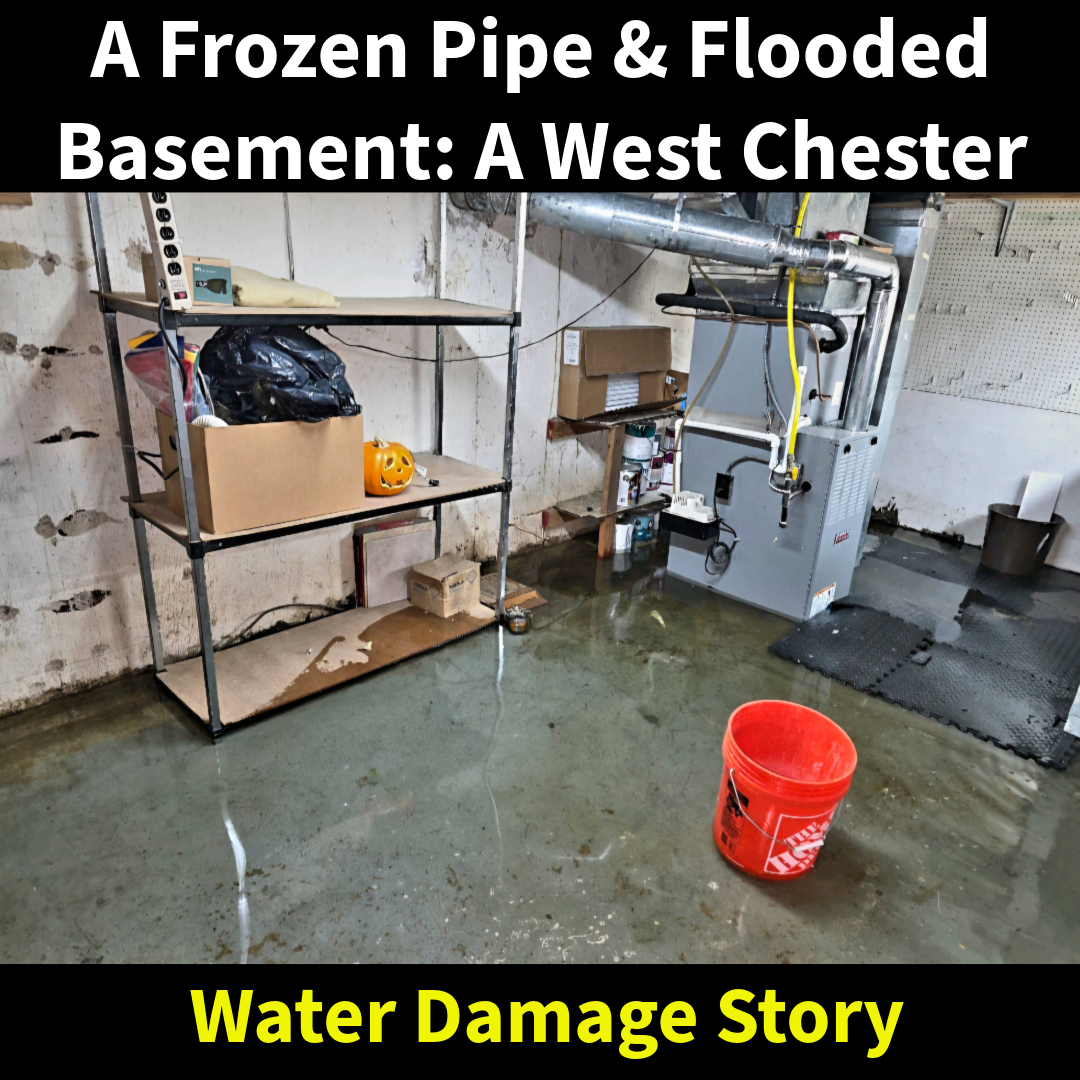
Frozen pipes don’t always fail the way homeowners expect. Sometimes there’s no loud burst, no immediate flooding, and no warning signs at all. In this case, a home in West Chester, PA, located in East Bradford Township, experienced significant basement flooding after an exterior spigot line froze and cracked during cold weather. The damage didn’t occur during the freeze itself—it happened later, when temperatures warmed and water began flowing again. By the time the homeowner realized there was a problem, the basement had already taken on several inches of water.


The cracked pipe was part of an outdoor spigot supply line, and the failure occurred outside the foundation wall. When the line thawed, water pressure returned and began flowing through the break. Instead of flooding an obvious interior area, the water traveled quietly through the foundation and window well before entering the basement. Because the break was outside and out of sight, the leak went unnoticed long enough to cause serious damage. This is a common scenario with frozen exterior lines—and one that often catches homeowners off guard.


When we were called in, the basement already had approximately six inches of standing water. Walls, flooring, and personal belongings stored in the space had been affected. At that point, the focus wasn’t just removing water—it was preventing the situation from getting worse and addressing materials that had already absorbed moisture.

We began by extracting the water, removing damaged items, and opening up necessary wall areas so the space could be properly cleaned and dried. From there, the basement was thoroughly dried to stabilize conditions and reduce the risk of mold growth.


Because the pipe cracked outside the home, the insurance claim wasn’t straightforward. Water entering through a foundation wall often leads to coverage questions, even when the source is a plumbing failure.

This is where documentation matters. By clearly establishing how the loss occurred, when the damage was discovered, and what materials were affected, we were able to help the homeowner navigate the claim process and ultimately obtain coverage. Without that level of detail, these types of losses can easily be denied or delayed.


The biggest lesson from this job is one many homeowners don’t realize until it’s too late: Exterior water lines need to be shut off and winterized before freezing temperatures arrive. Even a small crack in an exterior line can remain hidden until warmer weather allows water to flow again. When that happens, damage often occurs quietly and spreads quickly—especially in basements and lower levels. Homes throughout West Chester and East Bradford Township are particularly vulnerable to this type of loss during freeze–thaw cycles.


Frozen pipe damage doesn’t always happen when it’s cold outside. In many cases, the real damage begins after the freeze, when thawing allows water to move through a previously cracked line. Taking steps to winterize exterior plumbing and responding quickly to unexplained moisture can make a major difference. When water damage does occur, proper response and documentation are key to protecting both the home and the homeowner.

Contents Cleaning After Water, Mold, and Fire Damage

When a home or building is damaged by water, mold, or fire, the focus often goes straight to structural repairs. What’s frequently overlooked is the condition of the contents inside the space—furniture, personal belongings, electronics, documents, and other items that may be affected even if they don’t appear visibly damaged.

Contents cleaning is a critical part of the recovery process and can make a significant difference in both restoration costs and long-term indoor safety.


Water, smoke, and mold don’t stay confined to one area. Moisture migrates, smoke travels through air pathways, and mold spores spread easily. As a result, contents throughout a home or building may be impacted even if the source of damage was isolated.

Items can absorb contaminants, odors, and moisture without showing immediate signs, which is why professional evaluation matters.


Water damage can impact contents quickly, especially when moisture is allowed to sit or migrate.

Commonly affected items include:

  • Upholstered furniture and mattresses
  • Area rugs and carpeting
  • Paper documents and books
  • Clothing and textiles
  • Wood furniture and cabinetry
  • Electronics and appliances

Even clean water can cause damage if drying is delayed, and contaminated water introduces additional safety concerns.


Mold-related damage isn’t always visible. Contents stored in damp or poorly ventilated areas can absorb moisture and spores over time.

Items often impacted by mold exposure include:

  • Cardboard boxes and stored belongings
  • Fabric items and soft goods
  • Books, artwork, and paper materials
  • Porous furniture and décor

In some cases, contents may be salvageable after proper cleaning and drying. In others, removal may be necessary to prevent recontamination.


Fire damage affects more than what the flames touch. Smoke and soot can travel throughout a structure, leaving residues that continue to cause damage if not properly addressed.

Fire-related contents issues often involve:

  • Smoke odor absorption in fabrics and furniture
  • Soot residue on surfaces and electronics
  • Corrosive damage to metals and wiring
  • Contamination of HVAC-distributed items

Deodorizing alone is rarely sufficient without proper cleaning and evaluation.


Whether an item can be cleaned and restored depends on several factors, including:

  • The type of material (porous vs. non-porous)
  • The extent and duration of exposure
  • The type of damage (water category, mold growth, smoke residue)
  • Health and safety considerations

Professional assessment helps the property owner make informed decisions instead of guessing or discarding items unnecessarily.


Cleaning or removing affected contents is often necessary before repairs or reconstruction begin. Leaving contaminated or moisture affected items in place can compromise restoration work and contribute to ongoing odors, mold growth, or indoor air quality issues.

Proper sequencing helps ensure the space is truly clean and safe before moving forward.


Contents cleaning is an essential part of recovery after water damage, mold exposure, or fire. What can be saved and what can’t, should be determined through careful evaluation, not assumptions.

Addressing contents properly helps protect health, preserve valuable belongings, and support a successful restoration process.

What to Check in Your Home After a Winter Storm

Winter storms can leave behind more than snow and ice. Freezing temperatures, heavy snowfall, and thawing conditions often cause hidden water damage that isn’t immediately visible once the storm passes. Many homeowners don’t realize there’s a problem until days—or even weeks—later, when leaks, staining, or mold appear. Taking time to check key areas of your home after a winter storm can help catch water damage early and prevent more serious issues.


Freezing temperatures can stress plumbing systems, especially pipes located in exterior walls, basements, crawlspaces, garages, and other unheated areas.

After a winter storm, pay attention to:

  • Changes in water pressure
  • Unusual noises when water is running
  • Slow leaks around sinks, toilets, or appliances
  • Damp spots on walls or ceilings near plumbing lines

Even pipes that did not fully burst may have small cracks that begin leaking once temperatures rise.


Snow accumulation and freeze-thaw cycles can lead to roof leaks and ice dam formation. Water intrusion from above often shows up first on ceilings or in attic spaces.

Check for:

  • Discoloration or staining on ceilings
  • Peeling paint or bubbling drywall
  • Damp insulation in attic areas
  • Water marks near attic access panels

These signs may indicate slow roof leaks that started during or after the storm.


Basements and crawlspaces are especially vulnerable after winter storms due to frozen pipes, foundation seepage, and melting snow around the home.

Look for:

  • Standing water or damp concrete
  • Musty or damp odors
  • Wet insulation or exposed framing
  • Water around sump pumps or floor drains

Because these areas are often unfinished, moisture problems can go unnoticed without a careful inspection.


Ice dams commonly form along roof edges when snow melts and refreezes. This can force water under shingles and into the home.

After a storm, check for:

  • Large icicles along roof edges
  • Ice buildup in gutters
  • Water stains on exterior siding
  • Drips or leaks near exterior walls

Roof-related water damage often appears inside the home long after the snow has melted.


Winter water damage is often hidden. Heating systems may dry surfaces while moisture remains trapped inside walls, insulation, and flooring. Without proper moisture detection, damage can continue to spread even after conditions improve. Early identification can help prevent mold growth, structural damage, and costly repairs. Painting over leaks especially on drywall is a mistake that could be costly later, as mold will continue to develop on the backside of the drywall and in the edn require more mold remediation.


If you notice any signs of water intrusion after a winter storm—or if your home experienced frozen pipes, roof snow buildup, or recent thawing—calling a professional promptly allows for quick assessment and documentation. Fast response can make a significant difference in limiting damage and preventing long-term issues. Putting it off for later will only cost more in the long run.


Winter storms don’t always cause immediate or obvious damage. Taking the time to inspect key areas of your home after freezing temperatures and snowfall can help catch problems early and avoid bigger issues down the road. When in doubt, a professional inspection can provide peace of mind and ensure hidden moisture isn’t left behind. And when moisture does occur, having proper water damage restoration completed will save you time, money and even larger problems down the road.

Freezing Temperatures and Snow: The Hidden Water Damage Homeowners Miss

Over this past weekend, much of the region experienced significant snowfall, with up to 6 inches reported in parts of Philadelphia, Delaware County, Bucks County and Chester County, including West Chester, Newtown Square, Media, New Hope and surrounding communities. While most homeowners were focused on clearing driveways and staying warm, freezing temperatures and heavy snow can quietly cause hidden water damage inside homes—damage that often goes unnoticed until it becomes a much bigger problem.

Winter-related water damage is especially dangerous because it can remain concealed for weeks, slowly saturating building materials and increasing the risk of mold growth and structural damage.


When temperatures drop below freezing, water inside pipes expands as it turns to ice. This expansion places significant pressure on pipe walls, fittings, and joints—particularly in exterior walls, basements, crawlspaces, garages, and other unheated areas.

Even if a pipe does not fully burst, freezing conditions can cause small cracks or weakened joints that begin leaking once temperatures rise and the ice melts.


Freezing temperatures and heavy snowfall often lead to water intrusion in places that are not immediately visible. During inspections, these are some of the most common areas where winter-related water damage is found:

  • Plumbing lines located in exterior walls
  • Basement ceilings and walls below bathrooms or kitchens
  • Crawlspaces and rim joists
  • Garages and unheated utility rooms
  • Attics affected by snow melt and ice dams
  • Ceilings below roof valleys, chimneys, and flashing areas
  • Areas near exterior hose bibs and shutoff valves

These locations often allow water to spread behind finished surfaces, making damage difficult to detect without proper moisture testing.


Many homeowners expect winter plumbing failures to cause immediate flooding, but most winter-related leaks are far less dramatic. In many cases, water escapes slowly and travels into wall cavities, under flooring, or above ceilings.

Because cold weather can limit evaporation, moisture often remains trapped, allowing damage to progress quietly before any visible signs appear.


Heavy snowfall—such as what we saw this weekend—can also create water damage from above. As snow melts and refreezes, ice dams can form along roof edges, preventing proper drainage.

When this happens, water can be forced beneath shingles and roofing materials, entering attics and wall cavities. This type of damage often goes unnoticed until staining or mold becomes visible weeks later.


Cold temperatures can give homeowners a false sense of security. Heating systems may dry the surface of materials while moisture remains trapped deeper inside walls, insulation, and subfloors.

Without professional moisture mapping, hidden water damage can remain present long after the weather improves.


Once temperatures stabilize and indoor conditions warm up, trapped moisture creates an ideal environment for mold growth. Mold does not require standing water—only sustained moisture and organic materials.

This is why mold problems frequently appear weeks after a winter leak, long after the initial event has been forgotten.


If your home experienced frozen pipes, water pressure changes, roof snow buildup, or recent thawing—especially after this weekend’s snowfall—it’s important to have the property evaluated.

A professional inspection can identify hidden moisture, document damage for insurance purposes, and help prevent long-term mold and structural issues.


Freezing temperatures and snowstorms do more than impact travel and utilities. They can quietly damage plumbing systems, roofs, and building materials, leading to hidden water damage that worsens over time.

Addressing potential issues early—before mold or structural damage develops—can save homeowners significant time, expense, and frustration.

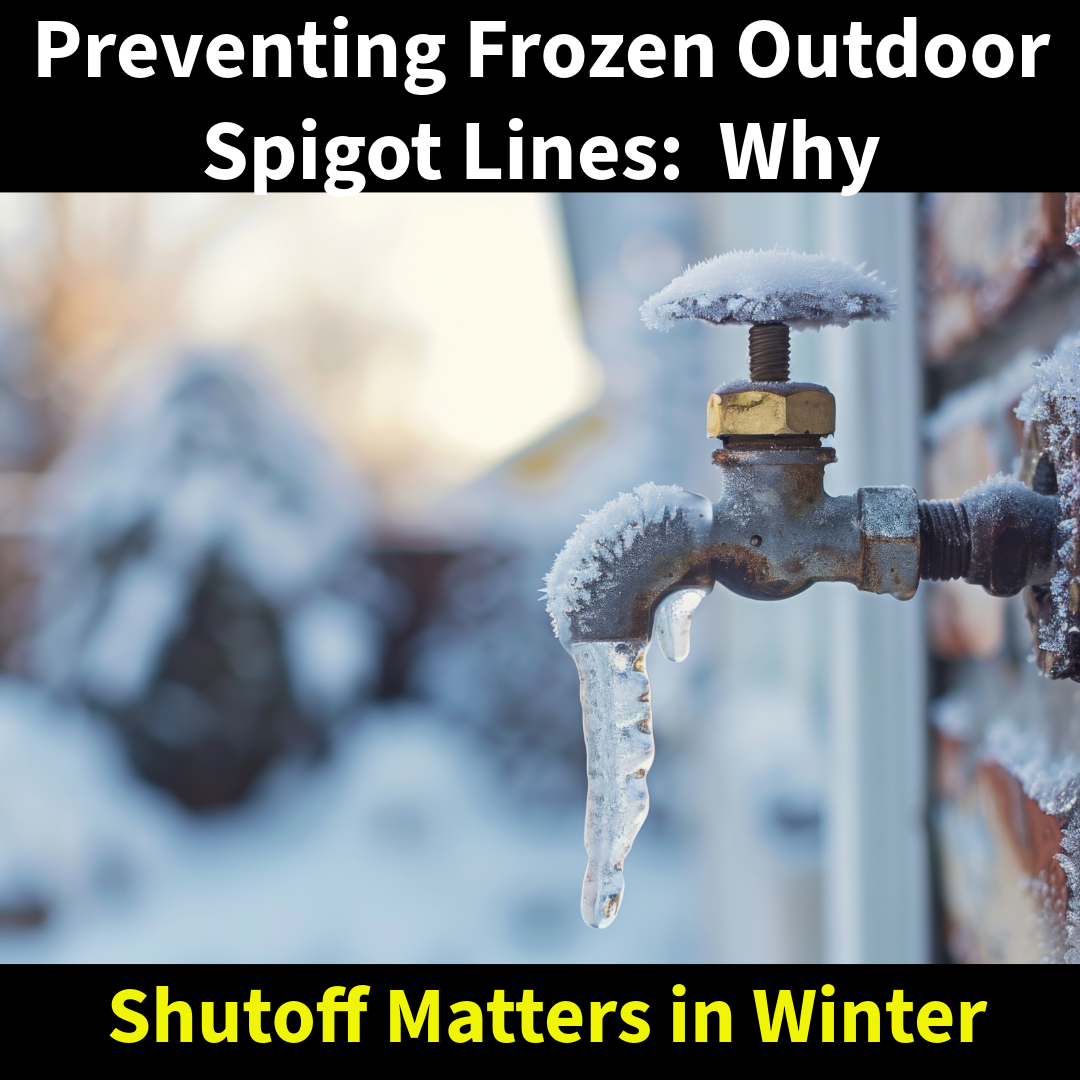
Preventing Frozen Outdoor Spigot Lines: Why Shutoff Matters in Winter

When temperatures drop, one of the most common causes of water damage in homes is a frozen outdoor spigot line. While a hose faucet may seem harmless, the pipe feeding it can freeze, expand, and burst behind the wall — often without anyone noticing until major damage appears.

Understanding how and why these lines freeze, and what homeowners can do to prevent it, is the key to avoiding costly repairs when winter weather hits.


Outdoor spigots are typically connected to plumbing lines that run through exterior walls or uninsulated areas. When temperatures fall below freezing, water inside these lines becomes vulnerable.

Here’s what happens:

  • Water sits inside the pipe beyond the shutoff valve
  • Freezing temperatures cause the water to expand
  • Pressure builds between the shutoff and the exterior spigot
  • The pipe cracks or bursts — usually inside the wall

The worst part is that the actual rupture often happens inside the home, not at the faucet itself.


A frozen spigot line can cause significant water damage once temperatures rise and the pipe thaws.

Common results include:

  • Ceiling leaks
  • Wall saturation and bubbling paint
  • Damaged insulation
  • Flooded basements
  • Mold growth within 24–48 hours
  • Structural damage if left unnoticed

Many homeowners don’t discover the break until they turn on the hose in spring or see water dripping inside their home.


How to Properly Shut Off Outdoor Spigots for Winter

Preventing frozen spigot lines is simple, but it must be done correctly.

Homeowners should:

  1. Turn off the interior shutoff valve leading to the outdoor spigot
  2. Open the exterior hose faucet to drain out any remaining water
  3. Disconnect all hoses, splitters, or accessories
  4. Leave the exterior spigot open for the season to relieve pressure
  5. If available, use frost-free spigots — but still shut them off as an added precaution

Failing to shut off the interior valve is the most common mistake. Even frost-free designs can fail if water remains trapped behind them.


Signs a Spigot Line Has Frozen or Burst

Homeowners should look out for:

  • Low water pressure when using the spigot
  • Water dripping from soffits or siding
  • Moisture stains on ceilings or walls near the spigot line
  • A musty odor near exterior walls
  • Visible swelling or cracking near the hose bib

Early detection can prevent more extensive water damage and mold growth.


The Bottom Line

Frozen spigot lines are a preventable cause of winter water damage. By shutting off the interior valve, draining the exterior faucet, and keeping the spigot open through the cold months, homeowners can avoid burst pipes, leaks, and costly repairs when warmer weather returns.

Water Damage in Haverford, PA: Why Category 3 Leaks Should Never Be Ignored

Water damage can escalate quickly, especially when the source involves a plumbing line connected to a Water damage can escalate quickly, especially when the source involves a plumbing line connected to a bathroom. A recent water loss in Haverford, PA is a clear example of how a “minor leak” can become a serious contamination event when the issue isn’t opened, inspected, and treated correctly.

A homeowner contacted MSI after discovering a leak from a discharge line beneath her bathroom. The ceiling below was water-logged and showing visible signs of saturation.


When the Insurance Contractor Gets It Wrong

Before calling MSI, the homeowner’s insurance company sent a large national franchise to evaluate the loss. Their conclusion:

  • The leak was “minor”
  • No need to open the ceiling
  • Just set fans and dry it out
  • Push ahead with drywall and paint repairs
  • No verification of the source.
  • No moisture mapping.
  • No cavity opening.

This approach is not just careless — it’s dangerous, especially when Category 3 water is involved.


What MSI Found After Opening the Ceiling

After speaking with the homeowner and explaining the risks of a discharge line leak, she hired MSI to perform a proper inspection.

Once we opened the ceiling, the real conditions became clear:

  • The toilet discharge line was still leaking
  • The ceiling cavity was saturated with Category 3 (sewage) water
  • Mold growth had already developed inside the ceiling
  • Contamination extended into a wall pocket that required removal
  • Moisture had carried down into the basement, affecting additional areas

This was not a minor leak — it was a hazardous contamination event hidden behind drywall.


Why Category 3 Water Must Be Remediated Correctly

Category 3 water (sewage, toilet discharge, or drain line leaks) contains:

  • Bacteria
  • Viruses
  • Organic waste
  • Fecal matter
  • Harmful microorganisms

Drying Category 3 water with fans is never enough.
It spreads contamination and traps moisture inside building materials.

Proper remediation requires:

  • Opening all affected cavities
  • Removing saturated materials
  • Antimicrobial treatment
  • HEPA filtration and negative air pressure
  • Structural drying
  • Post-remediation verification

Anything less puts the home — and the occupants — at risk.


Restoring the Home and Reopening the Claim

After completing all demolition, drying, and mold remediation, MSI assisted the homeowner in reopening the insurance claim and documented the true scope of damage — something the first contractor failed to do.

This case shows why second opinions matter. Homeowners are allowed to choose the company they trust, not the one their insurance sends.


The Lesson: Hidden Water Damage Should Never Be Ignored

The Haverford incident is a reminder:

  • Category 3 water is hazardous
  • Ceilings and walls must be opened when contamination is suspected
  • Insurance-preferred vendors often minimize damage to reduce costs
  • Proper inspection protects the home and the homeowner

If you notice water damage, plumbing leaks, or anything involving a drain line, don’t ignore it.

📞 Call MSI at 877-712-1600 for professional water damage assessment and mold remediation in Haverford and surrounding areas.

Why Draining Your Hot Water Tank Matters – Avoid Costly Water Damage

Most homeowners never think about their water heater until there’s a puddle forming underneath it. Unfortunately, by the time a leak appears, the damage is already done.

Water heater failures are one of the most common sources of residential flooding — often releasing dozens of gallons of water in just minutes. The good news? A little maintenance goes a long way toward preventing a costly water damage disaster.


The Hidden Risk Inside Your Tank

Every time your water heater runs, minerals and sediment from the water supply settle at the bottom of the tank. Over time, that buildup hardens into a thick layer that traps heat, causes the tank to overheat, and leads to cracking or corrosion.

As pressure builds, fittings can fail or the tank itself can rupture — often when no one’s home to notice. That’s why regular maintenance is critical not just for energy efficiency but for preventing a flood that could ruin floors, drywall, and insulation.


How (and When) to Drain Your Water Heater

Experts recommend draining and flushing your water heater once per year. Here’s how to do it safely:

  1. Turn off power to the heater (electric or gas).
  2. Connect a garden hose to the drain valve near the bottom of the tank.
  3. Run the other end of the hose to a floor drain or outdoors.
  4. Open a hot water tap somewhere in the house to relieve pressure.
  5. Open the drain valve and let the tank empty completely.
  6. Once drained, briefly turn on the cold water supply to flush remaining sediment.
  7. Close the valve, disconnect the hose, and restore power.

If you notice excessive rust, milky water, or sediment that doesn’t clear, it may be a sign the heater is nearing the end of its life.


Signs Your Water Heater Might Be Failing

A water heater rarely fails without warning. Be alert for:

  • Rusty or discolored hot water
  • A metallic taste in tap water
  • Rumbling or popping noises from the tank
  • Water pooling underneath the unit
  • Hot water that fluctuates in temperature

Ignoring these signs could lead to a full rupture, especially if your tank is more than 8–10 years old.


When a Leak Happens

Even a small leak can quickly spread beneath floors, into drywall, and across adjacent rooms. Once that happens, moisture becomes trapped, creating the perfect conditions for mold growth and hidden structural damage.

MSI provides 24/7 emergency water damage restoration, complete with moisture mapping, structural drying, and insurance documentation. We help homeowners return their property to pre-loss condition as quickly and safely as possible.


The Bottom Line

Routine maintenance may not be exciting, but it’s one of the easiest ways to prevent major water damage. Take 30 minutes once a year to drain and inspect your water heater — it could save you thousands in repairs. And if the unexpected does happen, MSI is ready to respond with certified technicians, detailed reporting, and honest communication every step of the way.