What to Check in Your Home After a Winter Storm

Winter storms can leave behind more than snow and ice. Freezing temperatures, heavy snowfall, and thawing conditions often cause hidden water damage that isn’t immediately visible once the storm passes. Many homeowners don’t realize there’s a problem until days—or even weeks—later, when leaks, staining, or mold appear. Taking time to check key areas of your home after a winter storm can help catch water damage early and prevent more serious issues.


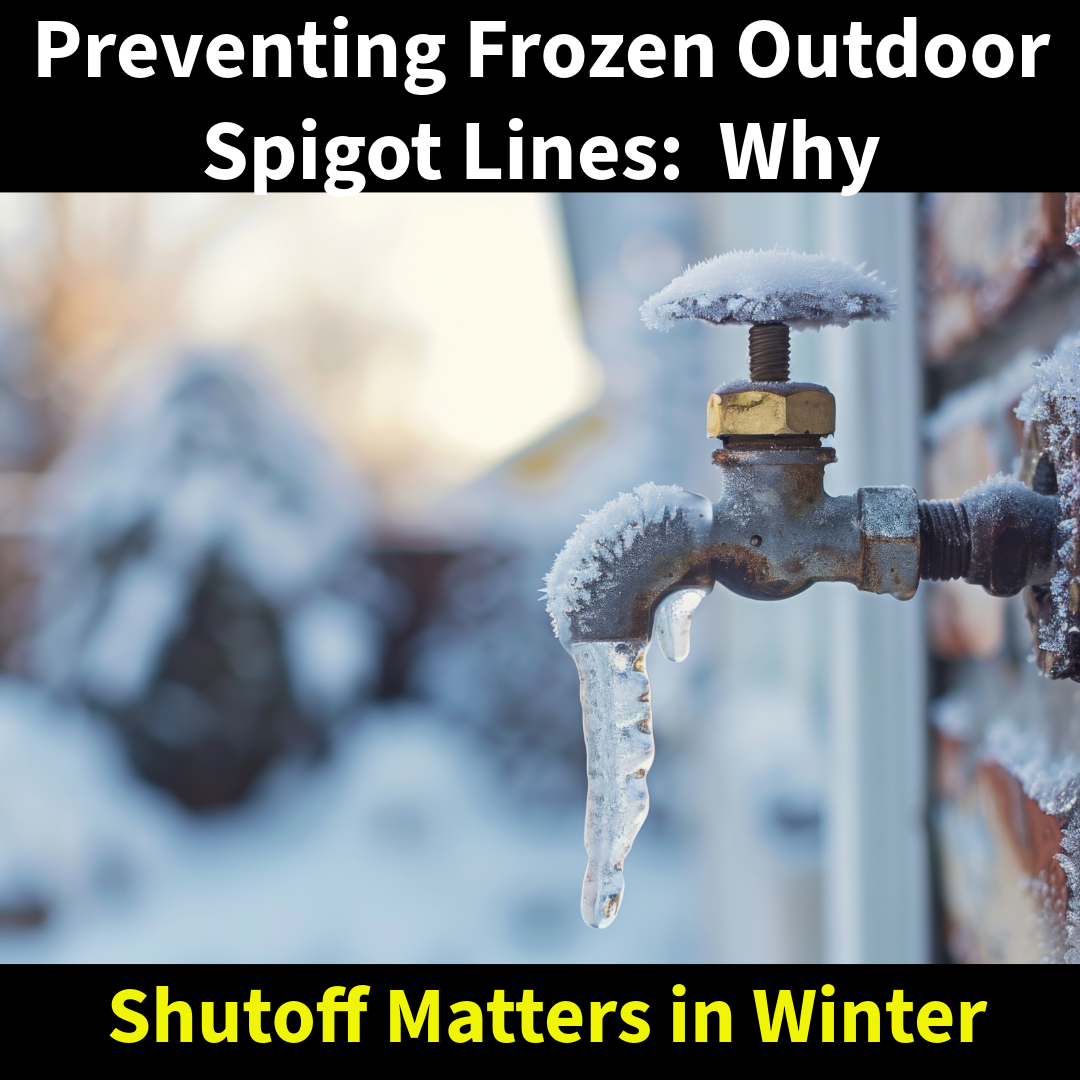
Freezing temperatures can stress plumbing systems, especially pipes located in exterior walls, basements, crawlspaces, garages, and other unheated areas.

After a winter storm, pay attention to:

  • Changes in water pressure
  • Unusual noises when water is running
  • Slow leaks around sinks, toilets, or appliances
  • Damp spots on walls or ceilings near plumbing lines

Even pipes that did not fully burst may have small cracks that begin leaking once temperatures rise.


Snow accumulation and freeze-thaw cycles can lead to roof leaks and ice dam formation. Water intrusion from above often shows up first on ceilings or in attic spaces.

Check for:

  • Discoloration or staining on ceilings
  • Peeling paint or bubbling drywall
  • Damp insulation in attic areas
  • Water marks near attic access panels

These signs may indicate slow roof leaks that started during or after the storm.


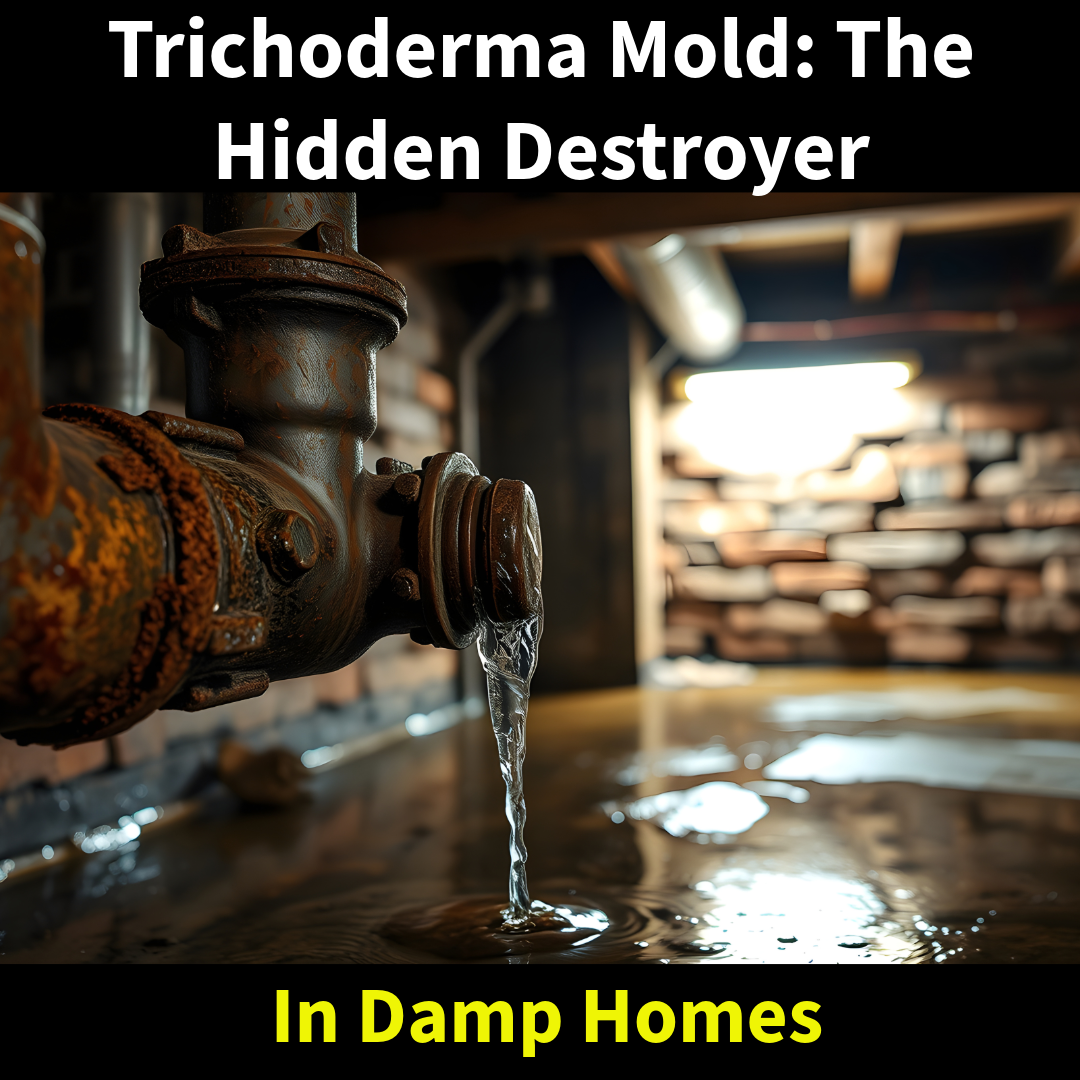
Basements and crawlspaces are especially vulnerable after winter storms due to frozen pipes, foundation seepage, and melting snow around the home.

Look for:

  • Standing water or damp concrete
  • Musty or damp odors
  • Wet insulation or exposed framing
  • Water around sump pumps or floor drains

Because these areas are often unfinished, moisture problems can go unnoticed without a careful inspection.


Ice dams commonly form along roof edges when snow melts and refreezes. This can force water under shingles and into the home.

After a storm, check for:

  • Large icicles along roof edges
  • Ice buildup in gutters
  • Water stains on exterior siding
  • Drips or leaks near exterior walls

Roof-related water damage often appears inside the home long after the snow has melted.


Winter water damage is often hidden. Heating systems may dry surfaces while moisture remains trapped inside walls, insulation, and flooring. Without proper moisture detection, damage can continue to spread even after conditions improve. Early identification can help prevent mold growth, structural damage, and costly repairs. Painting over leaks especially on drywall is a mistake that could be costly later, as mold will continue to develop on the backside of the drywall and in the edn require more mold remediation.


If you notice any signs of water intrusion after a winter storm—or if your home experienced frozen pipes, roof snow buildup, or recent thawing—calling a professional promptly allows for quick assessment and documentation. Fast response can make a significant difference in limiting damage and preventing long-term issues. Putting it off for later will only cost more in the long run.


Winter storms don’t always cause immediate or obvious damage. Taking the time to inspect key areas of your home after freezing temperatures and snowfall can help catch problems early and avoid bigger issues down the road. When in doubt, a professional inspection can provide peace of mind and ensure hidden moisture isn’t left behind. And when moisture does occur, having proper water damage restoration completed will save you time, money and even larger problems down the road.

Freezing Temperatures and Snow: The Hidden Water Damage Homeowners Miss

Over this past weekend, much of the region experienced significant snowfall, with up to 6 inches reported in parts of Philadelphia, Delaware County, Bucks County and Chester County, including West Chester, Newtown Square, Media, New Hope and surrounding communities. While most homeowners were focused on clearing driveways and staying warm, freezing temperatures and heavy snow can quietly cause hidden water damage inside homes—damage that often goes unnoticed until it becomes a much bigger problem.

Winter-related water damage is especially dangerous because it can remain concealed for weeks, slowly saturating building materials and increasing the risk of mold growth and structural damage.


When temperatures drop below freezing, water inside pipes expands as it turns to ice. This expansion places significant pressure on pipe walls, fittings, and joints—particularly in exterior walls, basements, crawlspaces, garages, and other unheated areas.

Even if a pipe does not fully burst, freezing conditions can cause small cracks or weakened joints that begin leaking once temperatures rise and the ice melts.


Freezing temperatures and heavy snowfall often lead to water intrusion in places that are not immediately visible. During inspections, these are some of the most common areas where winter-related water damage is found:

  • Plumbing lines located in exterior walls
  • Basement ceilings and walls below bathrooms or kitchens
  • Crawlspaces and rim joists
  • Garages and unheated utility rooms
  • Attics affected by snow melt and ice dams
  • Ceilings below roof valleys, chimneys, and flashing areas
  • Areas near exterior hose bibs and shutoff valves

These locations often allow water to spread behind finished surfaces, making damage difficult to detect without proper moisture testing.


Many homeowners expect winter plumbing failures to cause immediate flooding, but most winter-related leaks are far less dramatic. In many cases, water escapes slowly and travels into wall cavities, under flooring, or above ceilings.

Because cold weather can limit evaporation, moisture often remains trapped, allowing damage to progress quietly before any visible signs appear.


Heavy snowfall—such as what we saw this weekend—can also create water damage from above. As snow melts and refreezes, ice dams can form along roof edges, preventing proper drainage.

When this happens, water can be forced beneath shingles and roofing materials, entering attics and wall cavities. This type of damage often goes unnoticed until staining or mold becomes visible weeks later.


Cold temperatures can give homeowners a false sense of security. Heating systems may dry the surface of materials while moisture remains trapped deeper inside walls, insulation, and subfloors.

Without professional moisture mapping, hidden water damage can remain present long after the weather improves.


Once temperatures stabilize and indoor conditions warm up, trapped moisture creates an ideal environment for mold growth. Mold does not require standing water—only sustained moisture and organic materials.

This is why mold problems frequently appear weeks after a winter leak, long after the initial event has been forgotten.


If your home experienced frozen pipes, water pressure changes, roof snow buildup, or recent thawing—especially after this weekend’s snowfall—it’s important to have the property evaluated.

A professional inspection can identify hidden moisture, document damage for insurance purposes, and help prevent long-term mold and structural issues.


Freezing temperatures and snowstorms do more than impact travel and utilities. They can quietly damage plumbing systems, roofs, and building materials, leading to hidden water damage that worsens over time.

Addressing potential issues early—before mold or structural damage develops—can save homeowners significant time, expense, and frustration.

Christmas Light Safety Tips to Prevent Holiday Fires

The holiday season brings warmth, decorations, and festive lighting — but it also brings an increased risk of electrical fires. Each year, thousands of home fires are linked to Christmas lights, overloaded circuits, and unsafe decorating practices. A few simple precautions can help protect your home and family while keeping your holiday display bright.


Before any strand goes on a tree, railing, or roofline, check for broken bulbs, exposed wiring, cracked sockets, or frayed cords. Even one damaged area can create heat and spark a fire. If a strand looks worn or questionable, it’s safer to replace it than repair it.


Lights not rated for outdoor use can quickly overheat when exposed to moisture or cold weather. Indoor-only lights should never be used on exterior gutters, bushes, or rooflines. Always check the manufacturer label and choose lights designed for the environment you’re decorating.


Holiday displays often require more power than a typical outlet is designed to handle. Plugging too many strands into one outlet or daisy-chaining multiple extension cords can cause overheating. Use power strips with built-in surge protectors, avoid stacking plugs, and spread your lighting across multiple circuits whenever possible.


LED lights stay much cooler and use significantly less energy, making them a safer and more efficient option. Older incandescent lights generate more heat and are more prone to failing over time. Upgrading to LED strands is an easy way to improve safety and longevity.


Decorations placed too close to fireplaces, heating vents, space heaters, or candles can ignite quickly. Make sure lights, garland, and other décor have enough clearance from any heat-producing appliance.


Dry trees ignite rapidly and burn with extreme intensity. If you’re using a real tree, check water levels daily and keep lights off when the tree is noticeably drying out. Never place a tree near a fireplace or baseboard heater.


Leaving Christmas lights on unattended increases the risk of electrical failure while no one is around to respond. Use timers or smart plugs to automatically turn displays off overnight or when you leave the house.


Outdoor cords should be elevated off the ground when possible and kept away from areas where snow, rain, or standing water accumulate. Use weather-resistant extension cords and keep connections shielded from moisture.


A beautiful holiday display doesn’t have to come with unnecessary risks. With a few simple steps, you can enjoy the season knowing your decorations are safe, efficient, and properly maintained. If you ever experience fire damage or smoke-related issues in your home, MSI is here to help assess, restore, and get you back to normal quickly.

Preventing Frozen Outdoor Spigot Lines: Why Shutoff Matters in Winter

When temperatures drop, one of the most common causes of water damage in homes is a frozen outdoor spigot line. While a hose faucet may seem harmless, the pipe feeding it can freeze, expand, and burst behind the wall — often without anyone noticing until major damage appears.

Understanding how and why these lines freeze, and what homeowners can do to prevent it, is the key to avoiding costly repairs when winter weather hits.


Outdoor spigots are typically connected to plumbing lines that run through exterior walls or uninsulated areas. When temperatures fall below freezing, water inside these lines becomes vulnerable.

Here’s what happens:

  • Water sits inside the pipe beyond the shutoff valve
  • Freezing temperatures cause the water to expand
  • Pressure builds between the shutoff and the exterior spigot
  • The pipe cracks or bursts — usually inside the wall

The worst part is that the actual rupture often happens inside the home, not at the faucet itself.


A frozen spigot line can cause significant water damage once temperatures rise and the pipe thaws.

Common results include:

  • Ceiling leaks
  • Wall saturation and bubbling paint
  • Damaged insulation
  • Flooded basements
  • Mold growth within 24–48 hours
  • Structural damage if left unnoticed

Many homeowners don’t discover the break until they turn on the hose in spring or see water dripping inside their home.


How to Properly Shut Off Outdoor Spigots for Winter

Preventing frozen spigot lines is simple, but it must be done correctly.

Homeowners should:

  1. Turn off the interior shutoff valve leading to the outdoor spigot
  2. Open the exterior hose faucet to drain out any remaining water
  3. Disconnect all hoses, splitters, or accessories
  4. Leave the exterior spigot open for the season to relieve pressure
  5. If available, use frost-free spigots — but still shut them off as an added precaution

Failing to shut off the interior valve is the most common mistake. Even frost-free designs can fail if water remains trapped behind them.


Signs a Spigot Line Has Frozen or Burst

Homeowners should look out for:

  • Low water pressure when using the spigot
  • Water dripping from soffits or siding
  • Moisture stains on ceilings or walls near the spigot line
  • A musty odor near exterior walls
  • Visible swelling or cracking near the hose bib

Early detection can prevent more extensive water damage and mold growth.


The Bottom Line

Frozen spigot lines are a preventable cause of winter water damage. By shutting off the interior valve, draining the exterior faucet, and keeping the spigot open through the cold months, homeowners can avoid burst pipes, leaks, and costly repairs when warmer weather returns.

Water Damage in Haverford, PA: Why Category 3 Leaks Should Never Be Ignored

Water damage can escalate quickly, especially when the source involves a plumbing line connected to a Water damage can escalate quickly, especially when the source involves a plumbing line connected to a bathroom. A recent water loss in Haverford, PA is a clear example of how a “minor leak” can become a serious contamination event when the issue isn’t opened, inspected, and treated correctly.

A homeowner contacted MSI after discovering a leak from a discharge line beneath her bathroom. The ceiling below was water-logged and showing visible signs of saturation.


When the Insurance Contractor Gets It Wrong

Before calling MSI, the homeowner’s insurance company sent a large national franchise to evaluate the loss. Their conclusion:

  • The leak was “minor”
  • No need to open the ceiling
  • Just set fans and dry it out
  • Push ahead with drywall and paint repairs
  • No verification of the source.
  • No moisture mapping.
  • No cavity opening.

This approach is not just careless — it’s dangerous, especially when Category 3 water is involved.


What MSI Found After Opening the Ceiling

After speaking with the homeowner and explaining the risks of a discharge line leak, she hired MSI to perform a proper inspection.

Once we opened the ceiling, the real conditions became clear:

  • The toilet discharge line was still leaking
  • The ceiling cavity was saturated with Category 3 (sewage) water
  • Mold growth had already developed inside the ceiling
  • Contamination extended into a wall pocket that required removal
  • Moisture had carried down into the basement, affecting additional areas

This was not a minor leak — it was a hazardous contamination event hidden behind drywall.


Why Category 3 Water Must Be Remediated Correctly

Category 3 water (sewage, toilet discharge, or drain line leaks) contains:

  • Bacteria
  • Viruses
  • Organic waste
  • Fecal matter
  • Harmful microorganisms

Drying Category 3 water with fans is never enough.
It spreads contamination and traps moisture inside building materials.

Proper remediation requires:

  • Opening all affected cavities
  • Removing saturated materials
  • Antimicrobial treatment
  • HEPA filtration and negative air pressure
  • Structural drying
  • Post-remediation verification

Anything less puts the home — and the occupants — at risk.


Restoring the Home and Reopening the Claim

After completing all demolition, drying, and mold remediation, MSI assisted the homeowner in reopening the insurance claim and documented the true scope of damage — something the first contractor failed to do.

This case shows why second opinions matter. Homeowners are allowed to choose the company they trust, not the one their insurance sends.


The Lesson: Hidden Water Damage Should Never Be Ignored

The Haverford incident is a reminder:

  • Category 3 water is hazardous
  • Ceilings and walls must be opened when contamination is suspected
  • Insurance-preferred vendors often minimize damage to reduce costs
  • Proper inspection protects the home and the homeowner

If you notice water damage, plumbing leaks, or anything involving a drain line, don’t ignore it.

📞 Call MSI at 877-712-1600 for professional water damage assessment and mold remediation in Haverford and surrounding areas.

Trichoderma Mold: The Hidden Destroyer in Damp Homes

When most people think of mold, they imagine the infamous black streaks of Stachybotrys. But there’s another aggressive species that often goes unnoticed — Trichoderma. Found in damp, humid environments, this fast-growing greenish-white mold doesn’t just damage property; it can also threaten indoor air quality and health.


What Is Trichoderma?

Trichoderma (pronounced TRY-ko-DER-ma) is a common environmental mold that naturally lives in soil and decaying wood. While harmless outdoors, when it finds its way into damp building materials — like wet drywall, insulation, carpet padding, or subfloors — it can become destructive.

It thrives in humidity and moisture, quickly colonizing cellulose-based materials (anything made from plant fibers, such as paper, wood, or carpet backing). Once it begins to spread, Trichoderma releases enzymes that break down organic matter — literally eating away at a home’s structure.


Where It Grows

You’ll typically find Trichoderma in places with persistent or hidden moisture, including:

✔️ Basements and crawl spaces
✔️ Behind drywall after leaks
✔️ Around HVAC systems and vents
✔️ On or under bathroom floors
✔️ Behind kitchen sinks and dishwashers

In many cases, homeowners don’t see the mold itself — only the symptoms: musty odors, soft or warped drywall, or unexplained allergy issues.


Health Risks of Trichoderma Exposure

While Trichoderma is not as toxic as Stachybotrys, it still poses health risks — especially for people with allergies, asthma, or weakened immune systems.
Exposure may cause:

  • Sneezing, coughing, or sore throat
  • Skin irritation and redness
  • Itchy or watery eyes
  • Aggravated asthma symptoms

In rare cases, certain species like Trichoderma longibrachiatum have been linked to serious infections in individuals with compromised immunity. Even without infection, prolonged exposure to airborne spores can impact respiratory health and worsen preexisting conditions.


Why It’s Dangerous for Homes

Unlike surface mold, Trichoderma can grow deep inside building materials — meaning even if you clean the visible mold, it may still exist behind walls or under floors.
Because it spreads through microscopic spores and thrives in moisture, it’s often a sign of a larger water problem, such as:

  • Hidden plumbing leaks
  • High humidity from poor ventilation
  • Water seepage in basements or crawl spaces

If untreated, Trichoderma can weaken framing, drywall, and subflooring — and cause thousands of dollars in structural damage.


The Right Way to Remove It

DIY cleaning or “mold sprays” won’t stop Trichoderma. Proper remediation requires:

  1. Identifying and fixing the moisture source
  2. Containment and HEPA filtration to prevent cross-contamination
  3. Abrasive cleaning and disinfecting affected surfaces
  4. Encapsulation of remaining materials to prevent regrowth

Professional remediation teams like MSI use certified methods that meet IICRC standards, ensuring your home is safe, clean, and protected against future growth.


In Closing

Not all molds look alike — and not all require the same cleanup approach. Trichoderma spreads fast, hides deep, and damages more than just the surface. If you notice musty odors or see greenish mold growth in damp areas, it’s time for a professional inspection.

Call MSI for certified mold testing and remediation. Protect your home, your health, and your peace of mind.

📞 215-339-1769 | 877-712-1600 | wearemsi.com

Deep-Fried Turkey Safety: How to Prevent a Holiday Fire Disaster

Thanksgiving is a time for family, food, and traditions — and for many, that includes the excitement of deep-frying a turkey. The crispy skin and juicy flavor are unbeatable, but so are the risks if it’s not done safely. Every year, hundreds of homes across the country suffer fire damage from improperly used turkey fryers, leaving behind smoke, soot, and thousands of dollars in losses that could have been avoided.

At MSI, we’ve seen the aftermath of these accidents firsthand — and we want you to enjoy your holiday safely.


Why Deep-Frying Can Be Dangerous

Deep-frying a turkey involves heating several gallons of oil to around 350°F. That oil can ignite in seconds if it spills over or comes in contact with an open flame. A few of the most common mistakes that cause fires include:

  • Using too much oil in the fryer
  • Frying a partially frozen or wet turkey
  • Setting up too close to garages, decks, or trees
  • Leaving the fryer unattended

When oil spills over, it can instantly ignite, sending flames several feet into the air — and within moments, what started as a backyard feast can turn into a devastating fire.


Safety Tips for a Safe Fry

Here are some key precautions to keep your holiday free from hazards:

Always fry outdoors, away from structures and trees
Set up on a flat, nonflammable surface at least 10 feet from your home or garage.

Completely thaw and dry the turkey
Water or ice hitting hot oil can cause violent splattering and boil-overs.

Measure your oil carefully
Do a “test run” with water first to see how much oil you actually need.

Turn off the burner before lowering the turkey in
This reduces the chance of oil igniting if it spills.

Keep a Class B fire extinguisher nearby
Never use water on a grease fire — it will make it worse.

Stay close and stay alert
Never leave the fryer unattended, and keep kids and pets well away from the cooking area.


If a Fire Starts

If a grease fire breaks out, do not try to move the fryer.
Turn off the burner if it’s safe to do so, step back, and use a fire extinguisher rated for grease fires.
If the flames spread, evacuate immediately and call 911 — safety comes first.


When the Smoke Clears: Why Professional Cleanup Matters

Even small cooking fires can leave behind soot particles and smoke contamination throughout a home. These residues are invisible but toxic — they cling to walls, furniture, and HVAC systems, releasing odors and harmful compounds long after the flames are out.

MSI specializes in fire and smoke damage restoration, odor removal, and soot cleaning to restore homes safely and completely. From inspection to deodorization, we handle every step with care and precision so your home is safe to live in again.


Enjoy the Holiday — Safely

Thanksgiving should be about family, not fire cleanup. Take the time to prepare properly, follow these safety steps, and keep your celebration focused on gratitude, not damage repair.

If your holiday takes a turn and you need help after a fire or smoke incident, MSI is ready to respond quickly and professionally.

📞 Call 215-339-1769 or 877-712-1600 for certified fire and smoke damage restoration.

Why Draining Your Hot Water Tank Matters – Avoid Costly Water Damage

Most homeowners never think about their water heater until there’s a puddle forming underneath it. Unfortunately, by the time a leak appears, the damage is already done.

Water heater failures are one of the most common sources of residential flooding — often releasing dozens of gallons of water in just minutes. The good news? A little maintenance goes a long way toward preventing a costly water damage disaster.


The Hidden Risk Inside Your Tank

Every time your water heater runs, minerals and sediment from the water supply settle at the bottom of the tank. Over time, that buildup hardens into a thick layer that traps heat, causes the tank to overheat, and leads to cracking or corrosion.

As pressure builds, fittings can fail or the tank itself can rupture — often when no one’s home to notice. That’s why regular maintenance is critical not just for energy efficiency but for preventing a flood that could ruin floors, drywall, and insulation.


How (and When) to Drain Your Water Heater

Experts recommend draining and flushing your water heater once per year. Here’s how to do it safely:

  1. Turn off power to the heater (electric or gas).
  2. Connect a garden hose to the drain valve near the bottom of the tank.
  3. Run the other end of the hose to a floor drain or outdoors.
  4. Open a hot water tap somewhere in the house to relieve pressure.
  5. Open the drain valve and let the tank empty completely.
  6. Once drained, briefly turn on the cold water supply to flush remaining sediment.
  7. Close the valve, disconnect the hose, and restore power.

If you notice excessive rust, milky water, or sediment that doesn’t clear, it may be a sign the heater is nearing the end of its life.


Signs Your Water Heater Might Be Failing

A water heater rarely fails without warning. Be alert for:

  • Rusty or discolored hot water
  • A metallic taste in tap water
  • Rumbling or popping noises from the tank
  • Water pooling underneath the unit
  • Hot water that fluctuates in temperature

Ignoring these signs could lead to a full rupture, especially if your tank is more than 8–10 years old.


When a Leak Happens

Even a small leak can quickly spread beneath floors, into drywall, and across adjacent rooms. Once that happens, moisture becomes trapped, creating the perfect conditions for mold growth and hidden structural damage.

MSI provides 24/7 emergency water damage restoration, complete with moisture mapping, structural drying, and insurance documentation. We help homeowners return their property to pre-loss condition as quickly and safely as possible.


The Bottom Line

Routine maintenance may not be exciting, but it’s one of the easiest ways to prevent major water damage. Take 30 minutes once a year to drain and inspect your water heater — it could save you thousands in repairs. And if the unexpected does happen, MSI is ready to respond with certified technicians, detailed reporting, and honest communication every step of the way.

How Seasonal Changes Affect Indoor Air Quality

As temperatures shift, many homeowners focus on keeping their homes comfortable — sealing windows, adjusting thermostats, and using heating or cooling systems more often. What most people don’t realize is that these seasonal changes can have a major impact on indoor air quality, often trapping pollutants, allergens, and moisture that affect both health and comfort.

The Winter Problem: Sealed Homes and Stale Air

When cold weather hits, windows stay closed, and ventilation decreases. While that keeps warmth in, it also traps contaminants like dust, pet dander, and volatile organic compounds (VOCs) from cleaning products or furniture.
Heating systems can worsen the issue by circulating old air through dusty ducts and filters, leading to respiratory irritation, headaches, and fatigue — especially in homes with inadequate filtration or high humidity levels.

Spring and Summer: Humidity and Mold Growth

As outdoor humidity rises, so does the risk of moisture buildup indoors. Basements, crawl spaces, and attics are especially vulnerable. Warm, damp air encourages mold and bacteria growth, which can spread through HVAC systems and lower overall air quality.
Even air conditioning systems can contribute to the problem if condensation builds up on coils or inside ducts. Regular maintenance and dehumidification become crucial during these months.

Fall: The Overlooked Transition Season

Fall is when air quality problems often start quietly. Temperature swings cause condensation in walls, attics, and windows, and as heating systems kick on for the first time, they stir up dust and dormant allergens. Homeowners who haven’t replaced filters or cleaned vents since summer often notice an uptick in allergy symptoms right around this time.

How to Protect Your Home Year-Round

Keeping indoor air healthy isn’t complicated — it just requires consistent awareness and maintenance.

✅ Replace HVAC filters every 1–3 months depending on use and household size
✅ Keep humidity between 40–50% to discourage mold and bacteria
✅ Schedule professional duct or air quality testing if odors or respiratory symptoms appear
✅ Clean and inspect attic, basement, and crawl space areas before seasonal changes
✅ Use proper ventilation when painting, cleaning, or remodeling

Breathing Easier All Year Long

Every season presents different challenges for indoor air quality, but they all share one common theme — when air stops moving and moisture builds, contaminants multiply. Understanding how seasonal shifts affect your home helps you stay proactive rather than reactive.

MSI provides professional environmental testing and restoration services throughout Pennsylvania, New Jersey, and Delaware, helping homeowners keep their properties clean, safe, and healthy year-round.

The Hidden Truth About Water Damage Invoices

After a flood or major leak, most homeowners are relieved when a restoration company steps in to “handle everything” with the insurance carrier. On the surface, it sounds like a stress-free solution — but too often, the reality is very different.

In many cases, these companies take full control of billing and communication with the insurance adjuster, leaving the homeowner completely out of the loop. The result? Inflated invoices, questionable charges, and homeowners stuck with surprise bills they never saw coming.

How Insurance Billing in Restoration Actually Works

When a water loss is filed as an insurance claim, restoration companies usually submit an itemized invoice or estimate directly to the insurance carrier. These invoices are often created using a pricing platform called Xactimate, which standardizes costs for materials, equipment, and labor.

There’s nothing inherently wrong with that system — it’s designed to keep billing consistent. The problem arises when companies inflate the scope of work or charge for services never performed, assuming the customer will never see the invoice. Because they’re dealing directly with the insurer, they rely on the fact that most homeowners will never request a detailed copy.

When the Homeowner Asks for the Invoice

Here’s where it gets concerning: in many of these cases, when a homeowner asks for a copy of their invoice, the company either ignores the request or claims that it’s “between them and the insurance company.” That’s a red flag.

You, as the policyholder, have every right to see what’s being billed under your name and claim number. You are the insured party — not the contractor, not the adjuster, and not the vendor. Any legitimate company should have no issue sharing that invoice with you line by line.

Overbilling and “Phantom” Charges

Some restoration companies take advantage of the lack of transparency by padding invoices with unnecessary or duplicated charges — for example:

  • Equipment left longer than required but billed at full daily rates
  • Materials charged at replacement cost when repairs were minimal
  • Mold or antimicrobial treatments billed but never documented

Because the invoice goes straight to the insurer, homeowners never realize what was claimed under their policy. And if the insurance company denies part of the payment — due to overbilling or unsupported charges — the homeowner can suddenly find themselves sent to collections for the unpaid balance.

The “We’ll Bill Your Insurance Directly” Trap

A common sales pitch in the industry is, “You don’t have to worry about payment — we’ll bill your insurance directly.”
While that can sound convenient, it often means the company will:

  • Bypass you completely during billing
  • Inflate the total claim value to maximize payout
  • Blame the insurer if part of the invoice isn’t covered
  • Send you the balance due, even though you never approved the charges

Homeowners assume the insurance company will handle everything, but when the carrier rightfully pushes back against inflated costs, the customer becomes the one stuck in the middle.

Why Transparency Matters — And What Sets Honest Companies Apart

At MSI, we take a completely different approach. Every customer receives a line-by-line invoice outlining each piece of equipment, material, and labor cost. Nothing is hidden, and nothing is added without documentation.

You see exactly what your insurance carrier sees — down to the drying equipment, square footage treated, and time spent on-site. That transparency ensures trust and protects both the homeowner and the insurance company from billing disputes later on.

We believe in straightforward, honest communication. If an insurance company refuses to cover a portion of the invoice, you’ll know exactly why — and what was actually performed on your property.

Protect Yourself From Restoration Billing Scams

If you’ve had water damage and plan to file a claim, here’s how to protect yourself:
✅ Always ask for a copy of the full invoice or estimate before it’s sent to the insurer.
✅ Make sure the company provides photos, readings, and documentation to support their charges.
✅ Avoid signing “direct payment” agreements unless you’ve reviewed the billing process.
✅ Choose companies that communicate clearly and give you documentation at every step.

Water damage is stressful enough — you shouldn’t have to question whether the company helping you is being honest. A legitimate restoration company will always be transparent, share their invoice, and make sure you understand every part of the claim.

📞 For transparent, professional water damage restoration and testing services, call MSI at 877-712-1600.